Thursday, June 30, 2011
Fastest DIY Playset Yet!
I was having a moment the other day, where there was something I had to sew up, but Daniel was having none of it, so I whipped up this simple toy to keep him busy for a few minutes.
All you need are a few simple supplies:
-Tin Craft Mailbox (I found ours at Walmart but you can find them at craft stores or by snooping around the net)
-Stamps and ink of any kind
-Little envelopes, blank business cards, index cards, card stock, stiff felt or whatever you have on hand
-Stickers or embellishments and crayons
Just stamp away, pass the cards to your little one and let them decorate!
Monday, June 20, 2011
Top 50 Mom Craft Bloggers
I'm on the list! You can vote for me here. And what a great place to check out some more craft blogs!
And for your entertainment: Me chowing down on Mini-Donuts in Florida. How I miss that weather!
Tuesday, June 14, 2011
Sewn Climbing Bear Toy Tutorial
I am endlessly impressed by Made by Joel. He makes such beautiful, simple, wonderful things! I recently came across his Climbing Gorilla tutorial and found myself wishing (again) that I knew how to woodwork. I looked around for a tutorial for someone who doesn't have tools at home and I couldn't find much. And is I was looking, someone else might be too. Here's what I came up with:
Supplies:
Wool Felt (I used an old, felted sweater scrap)
Beans
Yarn or String (aprox 3 feet)
2 Medium Sized wooden beads
Pattern
1.) Print the pattern at the bottom of this post (should be 4.5"x4.5", or desired size) and cut it out.
2.) Cut 2 bears out of felt.
4.) Fill the bear with dried beans or dried peas. Don't pack them in too tight. If he's too heavy it will put unnecessary stress on your seams...and who wants to re-sew anything?
5.) Sew opening shut.
6.) Feed string through the holes, top to bottom. Tape the ends with scotch tape to make it easier! Tie beads at the ends of the string.
7.) Done! Now you hang it on a door know and practice wiggling the strings back and forth to make the bear shimmy up and down!
And here is a no-sew, no-tool version.
Monday, June 13, 2011
Hegehog Themed Baby Shower Gift
I've outdone myself! My first baby gift basket was cute, but this one is to die for!
It all started with finding this adorable wooden hedgehog clock at Superstore. I knew it would look perfect in my goddaughter's room, although I was tempted to keep it for myself!
I found this great hedgehog softie tutorial and whipped one up right away in Michael Miller's Hegehog's color scheme.
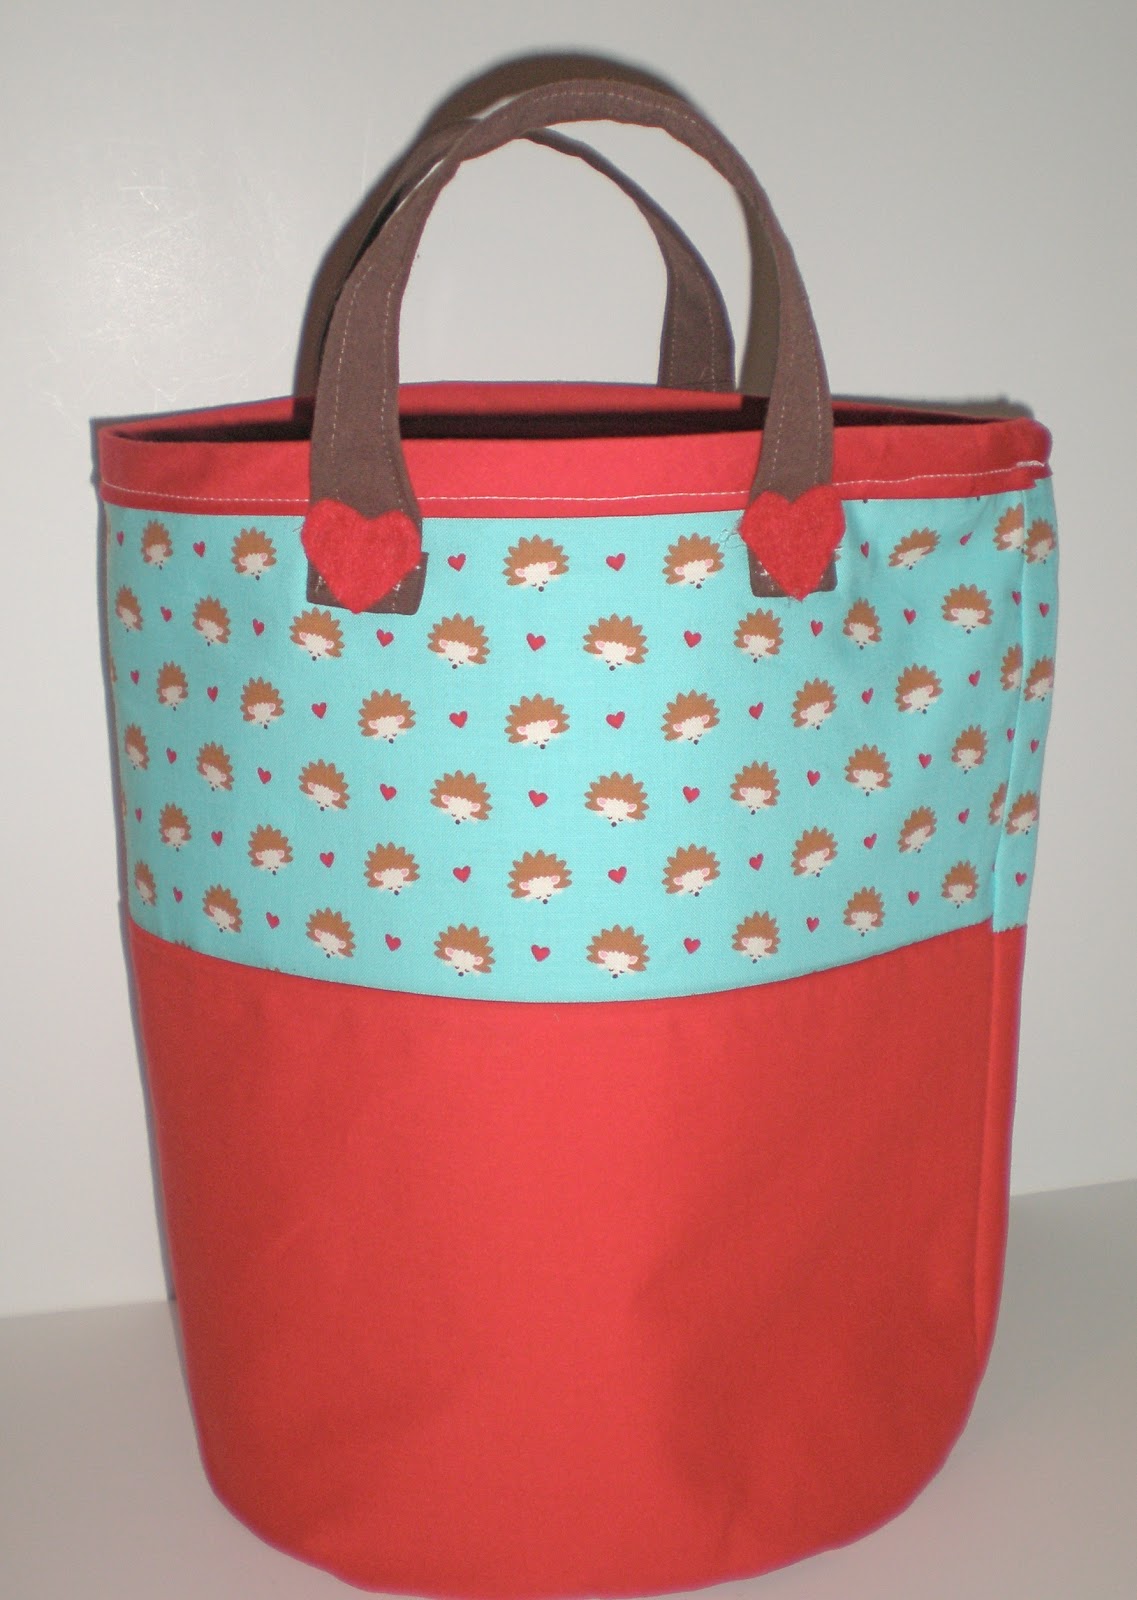
I added a Bagsket to hold it all, and although the colors won't match baby's room, it will be a great tote for car toys.
Next month, I plan on hosting a second shower for a different crowd and I have a few things up my sleeve for my little peanut. Can't wait to show you!
It all started with finding this adorable wooden hedgehog clock at Superstore. I knew it would look perfect in my goddaughter's room, although I was tempted to keep it for myself!
I found this great hedgehog softie tutorial and whipped one up right away in Michael Miller's Hegehog's color scheme.
I added a Bagsket to hold it all, and although the colors won't match baby's room, it will be a great tote for car toys.
Next month, I plan on hosting a second shower for a different crowd and I have a few things up my sleeve for my little peanut. Can't wait to show you!
Friday, June 10, 2011
Perfect Little Hedgehog Softie
Look what I made!
Cute...right? I made it for a baby gift, but what I really love about this pattern is that it's perfect for anyone. It could be made smaller and used as a key chain for a teen or it can be a money or chapstick holder for a tween or school-ager. It's a great baby toy or make a few and voila! A family of Hedgehogs for a preschooler. It would even be a great gift card holder and it's gender-neutral. I'm in love.
The only things I changed were that I embroidered the nose rather than attaching felt (seemed safer since it's for a baby), I made the felt spikes into loops so I can attach baby links and I did a quirky little contrasting whip stitch as a finish rather than an invisible ladder stitch because I thought it suited my little guy.
Can't wait to show you the whole gift!
Cute...right? I made it for a baby gift, but what I really love about this pattern is that it's perfect for anyone. It could be made smaller and used as a key chain for a teen or it can be a money or chapstick holder for a tween or school-ager. It's a great baby toy or make a few and voila! A family of Hedgehogs for a preschooler. It would even be a great gift card holder and it's gender-neutral. I'm in love.
The only things I changed were that I embroidered the nose rather than attaching felt (seemed safer since it's for a baby), I made the felt spikes into loops so I can attach baby links and I did a quirky little contrasting whip stitch as a finish rather than an invisible ladder stitch because I thought it suited my little guy.
Can't wait to show you the whole gift!
Subscribe to:
Posts (Atom)