Showing posts with label kids. Show all posts

Wednesday, September 18, 2013

Bad Blogger, Bad!

I've been a terribly negligent blogger since little Asher was born! Here are just a few things I've been creating since my last post:


Crinkle Toys

Custom I Spy Pillow

Custom Change Pads

Crinkly Teething BonBons

Custom Bandana Bibs

Teething/Nursing Necklaces

Custom Doll Wraps

Gnome Stackers


See?!? I've been busy! If you're trying to keep up with Bug & Bird, come find me on Facebook. I'm less negligent there!

Thursday, May 17, 2012

Rainy Day Entertainment


The easiest and cheapest way to keep a child entertained while you do the dishes (or drink some coffee while procrastinating):
Use a plastic grocery bag as a parachute.

He lasted almost an hour by himself. Adding a cape and superhero gloves may have gotten me past an hour. Especially if I had given him a stuffed animal to rescue from a burning building.


Friday, May 11, 2012

DIY Mother's Day Flower Pots


Here's a pretty, handmade gift for the mom in your life this Mother's Day. It cost us under $15 and can be finished in a lazy afternoon.


Supplies:
Clay Pot; big enough to hold your herbs or flowers
Dirt
Permanent Marker
Chalkboard Paint 
Masking Tape
Optional: acrylic paint for a border


We taped off a rectangle with the masking tape and painted it with blackboard paint according to the directions on the bottle. When it was dry, we peeled off the tape and wrote on the opposite side with Sharpies. Once we had planted our basil, we added the white border and left it to dry.

Wednesday, May 9, 2012

Cutest Soccer Snacks


Cucumbers and cheese biscuits aren't usually the most exciting snack, but packed up this cute they sure are! I used cellophane bags, blank business cards and stamps to package the biscuits and press-n-seal wrap to pack up the cucumbers. Our U6 team definitely seemed to enjoy.


Monday, March 12, 2012

DIY Curtains for our New Kura Loft Bed


Daniel's room is very tiny and so we just just got a new Kura reversible/loft bed to try and open up some play space. I immediately knew that I wanted to make the space underneath into a fun little hideout. Curtains seemed like the right idea to soften and cozy up the space, while adding something interesting to look at. I sewed panels of fabric, in random widths, together for a patchwork look and pinned the 2 panels up with upholstery tacks/finishing nails. If you wanted to totally tent off the bottom, you could add a tension rod and an extra curtain across the front as well.


I was a little dark under the bed, so I bought 2 Larga Spotlights from Ikea and clamped them onto the bedposts at either end of the bed. They open just enough to fit on and they were only $4 each. It really brightened up the space, and once I'm finished the rest of his room, it will become a reading nook.


And for one last little custom touch, I added an old laundry bag to the end of the bed with a couple over-the-door hooks. It's full of our way-too-big collection of stuffed animals. One day, I might make a bag that co-ordinates with the curtain, but an already made bag was just too tempting to resist!

Hopefully you'll see more of this small space update soon. I have some great ideas!

Thursday, February 9, 2012

Using Small Spaces- Kids Corner on the Stairs


My house is pretty little, and I'm starting to learn how to make the most of my nooks and crannies! Here's a little spot on the stairs that I created in less than 30 minutes with chalkboard stickers and vintage flash cards.


To string up my vintage Sesame Street flashcards I just tied string onto cute push pins and stuck them in the wall. If they're too loose, they droop a lot, so pull the string tight! I used a flat white tack in the corner so it was less noticeable (although I took the photos before I changed them out). I found some sweet mini clothespins to attach the cards with, although binder clips or even paper clips would work too.

I'm still looking for some way to store the chalk on the wall, so for now, we're using a mason jar to hold the chalk and the brush.


More redesigned nooks and crannies to follow soon!

Thursday, January 5, 2012

Cool Christmas Gift: Vintage Typewriter


One of my favorite Christmas gifts for Daniel this year. I have been looking for an old typewriter for quite a while and was very happy when my dad told me that he found one. When Daniel opened it he said "Wow! My own computer!"- not quite, but he's really gotten into it! We've been writing secret stories for him to read and next I plan on using our story dice while he dictates a story to me. Fun!

Wednesday, December 7, 2011

Magic Mud with Daddy


If you're feeling little stir crazy with all the snow, this is a great way to entertain your children and husband for at least an hour!

Magic Mud
3 Parts Cornstarch
1 Part Water
Optional Food Coloring

It's so much fun because it's liquid until you squish it, at which point it becomes solid, until you let it drip through your fingers. The in-between state of this magic mud is called a 'colloid'. Somewhere in between a solid and liquid. Just a little tip...wait for the mess to dry and it's much easier to sweep up.

Monday, October 31, 2011

No-Sew Franklin and Mrs. Turtle Costumes

We had a super-amazing church costume party on the weekend and here's how we went:


No sewing at all- my favorite. I cut the bellies out of fleece (you could use felt) and used quilters temporary spray glue to stick it to green shirts. I drew the lines with a brown fabric marker. Franklin's hat is a team hat that I covered with felt and adhered with the same spray glue.


My Mrs. Turtle necklace is made of purple ribbon and a wooden circle painted white.  Felt or a button would work for the charm as well. I used sticky velcro on the ends so it can come apart and hot glued the circle onto the ribbon.

We both had turtle-shell backpacks. One is a vintage ninja turtles backpack (doubles as a candy bag!) and the other was a handmade fleece kijiji find. I think one could definitely be made from fleece, hot glue, straps and stuffing in no time.

My little Franklin is just too cute!

Tuesday, October 25, 2011

Craft Kit: Creative Birthday Gift


Daniel had a party to go to this weekend, and I wanted to send him with something useful, that the parents and child would be glad to have!  I found a cardboard suitcase at Homesense and filled it with craft supplies.


Here's what we put inside:
Ruler Box with pencil crayons inside
Unfinished wooden box
People Pegs
Beads
Mini Easel and Canvas
Scissors
Paint
Alphabet Stickers
Craft Foam
Glue Tape
Clothes pins
Notebook


I personalized it by stamping "Aubrey's Craft Kit" on paper and sticking it to the inside of the lid. There are all sorts of more fancy ways I could have done it, but we were short on time!

Saturday, October 22, 2011

Easy Wooden Alphabet Blocks Tutorial


Here are a few lost photos of some ABC blocks I made for Daniel when he was learning his letters. He still loves them and now he's using them to spell. They're so easy to make!

Supplies:
Jenga Blocks (I used a no-name brand and saved a few dollars)
Permanent Marker, preferably non-toxic
Paper
Optional-Stencils, if you don't like drawing!


1.) Plan your simple drawings for each letter on the sheet of paper. Simple is best. Here are the objects I used, in alphabetical order:
Apple, Balloon, Candles, Duck, Egg, Fire, Gingerbread man, Hat, Ice cream, Juicebox, Kite, Leaf, Mittens, Nose, Oven, Pencil, Queen, Rabbit, Stars, Teepee, Umbrella, Vacuum, Watermelon, Xylophone, Yarn, Zipper.

2.) Start drawing! It only took me one evening for the whole project because I made everything as simple as possible. I drew the upper and lower case letter with a picture of an object starting with that letter on one side, and left the other blank. I repeated the capital letter on both ends of the block as well.

3.) I used a few of the extra blocks for simple sight words as well. Right after I gave Daniel his blocks, he saw a coupon (he had just turned 3) and said "Mommy, why does this paper say 'off'?" I just about fell over! I wrote one word on each side On/Off, Mom/Dad, Open/Close, Yes/No, Go/Stop, Hi/Bye etc.


This is a great gift because you can personalize it for your child with color, drawings and sight words that you think they'd enjoy!

Wednesday, October 19, 2011

10 Minute Piggy Bank

Who doesn't love a great "no skills required" craft once in a while? This little project reminds me that simple, re-purposed materials are usually the most intriguing for a child.


A few months ago bought some lovely organic cream that came in a glass bottle (it makes me wish I enjoyed home-coffee as much as store-coffee so I could buy more cream).  I just couldn't resist the container and when I was done I didn't want to put it into the recycling bin, so I gave it to Daniel to play with.


My Dad was visiting and watching Daniel 'plink' the coins into the bottle when he suggested we make it into a real piggy bank. He just cut a little slot into the lid with a utility knife and it was done. It's been a favorite toy for quite a few months now. Good call by Papa!

Tuesday, October 11, 2011

Easy Wholesome Dinner for a Busy Day!


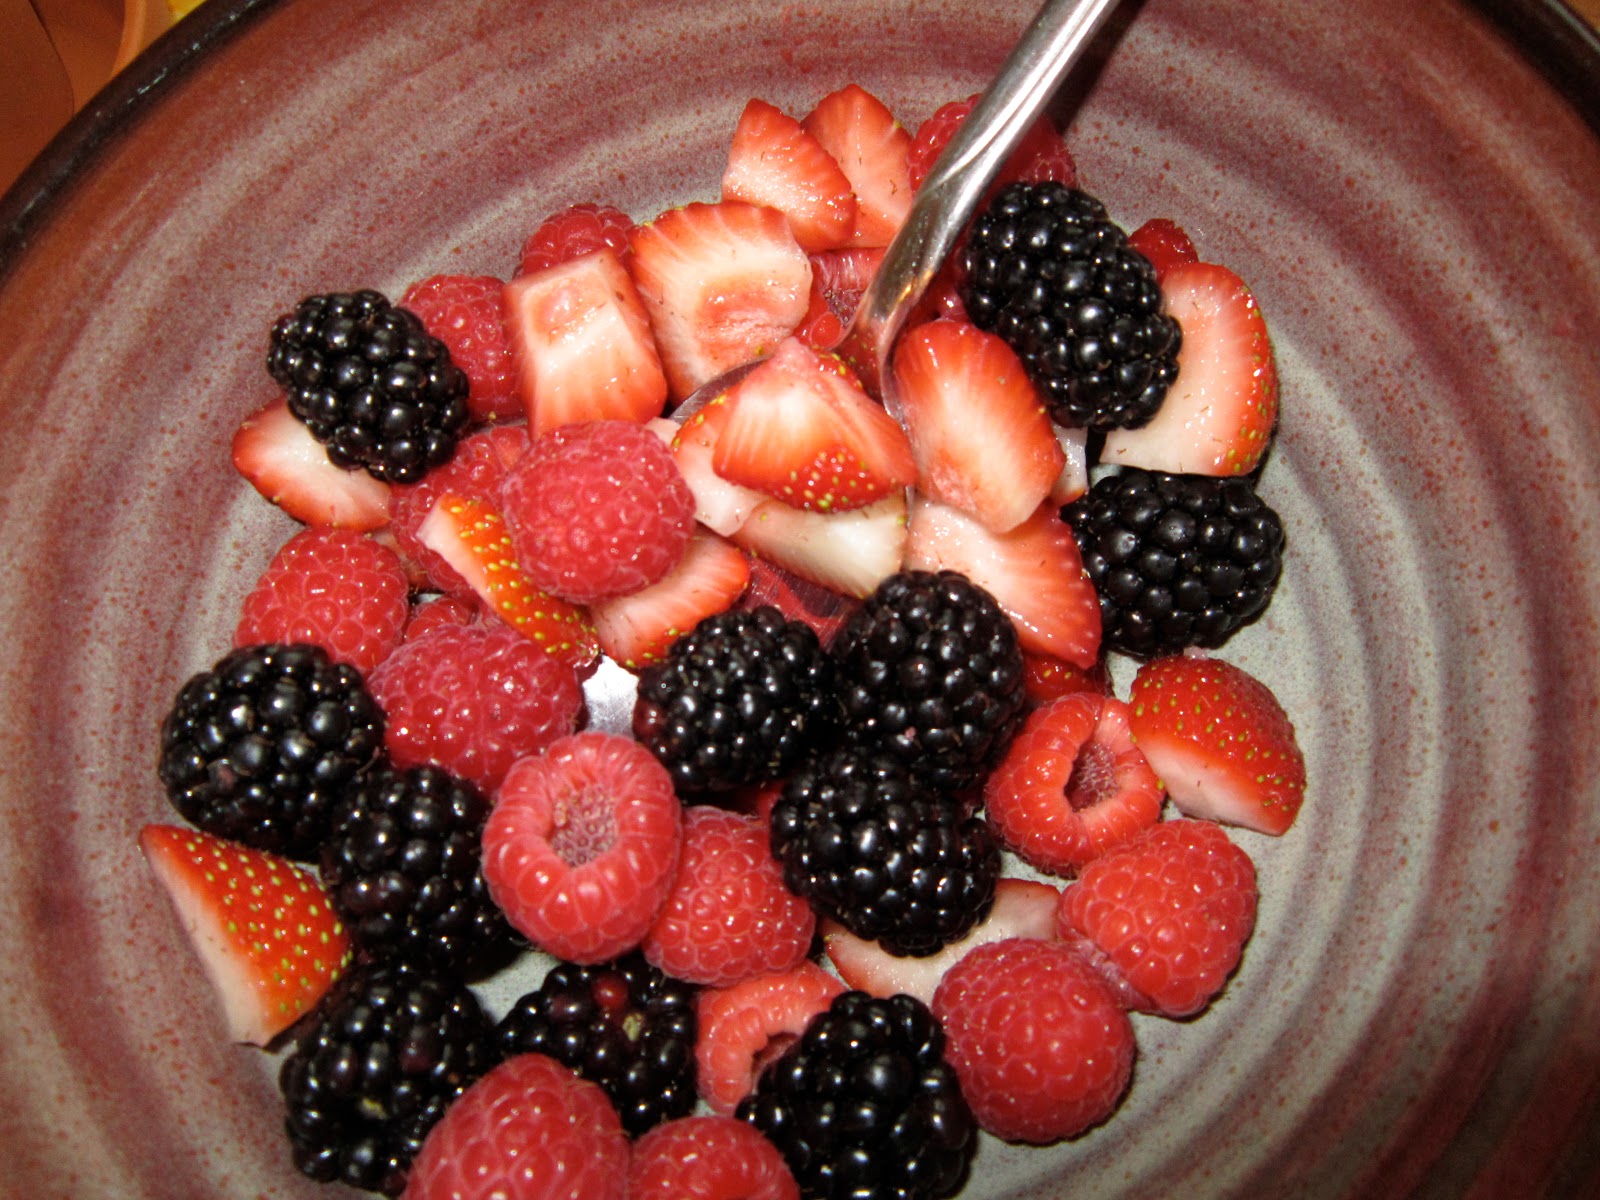
Time to share my go-to simple, healthy dinner with you. I make it on a hot day or when I'm super tired. Brie, crackers, fruit and nuts. Wholesome, pretty and delish!


 I slice my Brie in half and fill it with jam/jelly or pesto, then heat it in the toaster oven or microwave until it's warm and melty. Before Daniel liked Brie, I would add in whatever other cheese we had in fridge so he'd have some protein.


Yummy cracker assortment with dried fruit (raisins this time) and nuts in shot glasses. And mixed berries to round it out. Once in a while I'll scrap the dried fruit and nuts and make berries with yogurt and granola instead.


Enjoy a night off from cooking while your family scarfs nutritious food!

Friday, September 16, 2011

New Fundraising Program!

I am so excited to announce my new fundraising program for schools and non-profits! I love to support my community, and I hope that this gives a fun and useful new option for families and organizations. You can support local and handmade, buy a unique gift and at the same time earn money for your program!


Here's a sample brochure for your browsing pleasure!


Monday, August 8, 2011

Daniel's 4th Birthday Carnival!


Some photos from Daniel's party. Such fun! My favorite touches are the popcorn boxes, the prize table and the ridiculous attempt I made at turning our shed into a big top with vinyl tablecloths.


We had face painting, tattoos, a prize table, cupcakes, and carnival music. A friend of our juggled for us (so grateful for you Rochelle, Ben, Mom, Natasha and Anna!) and played juggling games with the kids.


Game Ideas:

Squirt n' Win: Set 3 gold tees up on a foam block and top with ping pong balls. Squirt off with water guns (or in our case, squirt animals!)

Bowling: We set one of my mini bowling sets up on a long desk top (removed from the base) and let the kids go nuts.

Fishing: I bought a plastic fishing set from the dollar store (I wanted to make a felt or wooden one, but I'm not Martha...) and put them in a bucket of water.

Beanbag Toss: Always a favorite!


We gave out one ticket for trying and two for winning. The prizes ranged from 1-6 tickets.

I wanted to play a a basketball game (since we already have a little hoop) and a sidewalk chalk target with wet sponge type game, but it was SO busy! The biggest hit of all was definitely the prize table though! It was packed with all kinds of prizes (shopping for a few weeks in clearance sections made for a fun selection of great toys).


You Might Also Like:

Related Posts Plugin for WordPress, Blogger...