Showing posts with label toy. Show all posts

Thursday, November 24, 2011

Baby Gift: Twin I-Spy Mini Quilts


 Look what I made for some darling twin boys! Mini I-Spy quilts, perfect wiping drool right now and for tummy time, strollers and car seats later. It could even be used as a tic-tac-toe mat when they're older!

I love I-Spy quilts for kids. So much too look at! When I was little I had a scrap quilt from my great grandmother that I still remember. I used to spend hours looking at it, and I remember my favorite part was a snoopy scrap. Hopefully these little ones will have fond memories of their little quilts too.


And a couple of little wooden teething rings to match! Not how I usually make them, but they sure are cute!

Saturday, October 22, 2011

Easy Wooden Alphabet Blocks Tutorial


Here are a few lost photos of some ABC blocks I made for Daniel when he was learning his letters. He still loves them and now he's using them to spell. They're so easy to make!

Supplies:
Jenga Blocks (I used a no-name brand and saved a few dollars)
Permanent Marker, preferably non-toxic
Paper
Optional-Stencils, if you don't like drawing!


1.) Plan your simple drawings for each letter on the sheet of paper. Simple is best. Here are the objects I used, in alphabetical order:
Apple, Balloon, Candles, Duck, Egg, Fire, Gingerbread man, Hat, Ice cream, Juicebox, Kite, Leaf, Mittens, Nose, Oven, Pencil, Queen, Rabbit, Stars, Teepee, Umbrella, Vacuum, Watermelon, Xylophone, Yarn, Zipper.

2.) Start drawing! It only took me one evening for the whole project because I made everything as simple as possible. I drew the upper and lower case letter with a picture of an object starting with that letter on one side, and left the other blank. I repeated the capital letter on both ends of the block as well.

3.) I used a few of the extra blocks for simple sight words as well. Right after I gave Daniel his blocks, he saw a coupon (he had just turned 3) and said "Mommy, why does this paper say 'off'?" I just about fell over! I wrote one word on each side On/Off, Mom/Dad, Open/Close, Yes/No, Go/Stop, Hi/Bye etc.


This is a great gift because you can personalize it for your child with color, drawings and sight words that you think they'd enjoy!

Monday, October 10, 2011

Quiet Book Photo Bonanza!

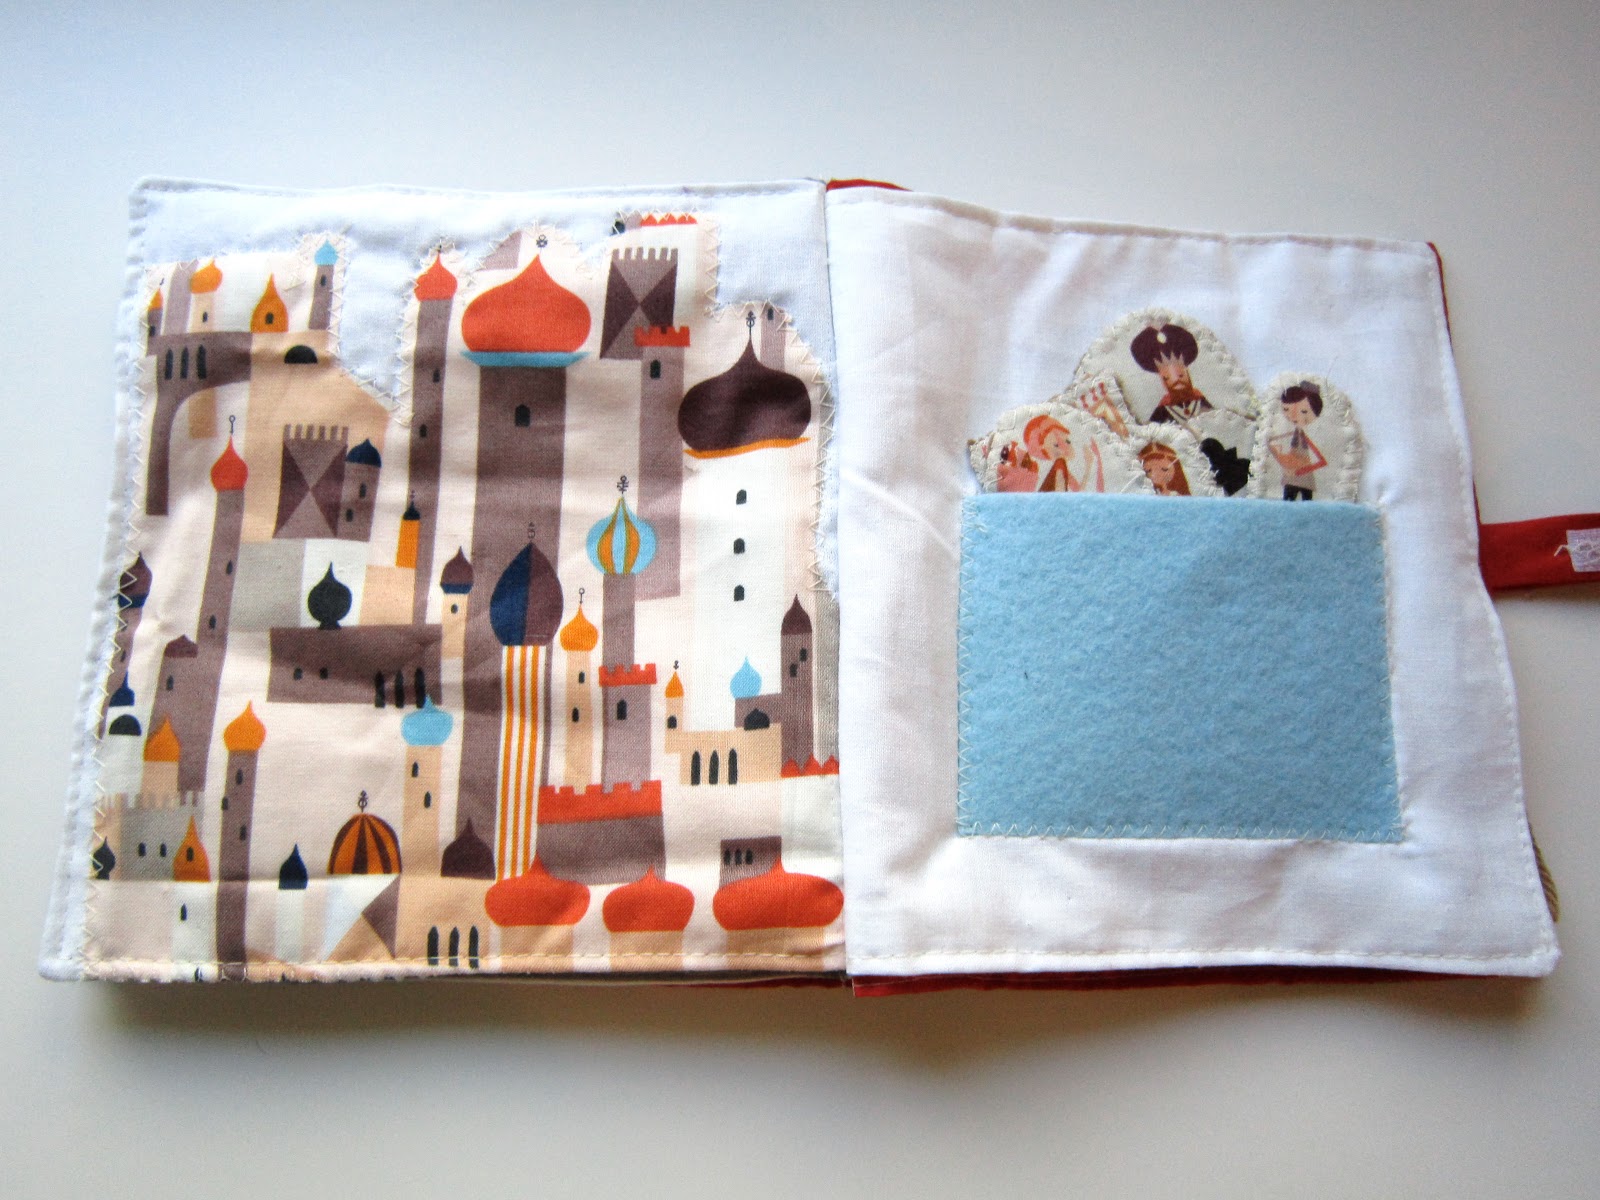
Baby Shower Basket post #3! I always wanted to make a quiet book for Daniel, but couldn't seem to carve out the time. Now Daniel's older and things are much easier so I decided to try it for the baby shower.  I think it's going to be a great toy for restaurants, traveling, church or the car. A few of the older kids got to test drive it, and hands down, the oven was the favorite! So, without further ado, here's the photo bonanza!


Fun, right? I hope my little peanut enjoys it as much as I would have when I was small!

Tuesday, October 4, 2011

Handmade Wooden Block Puzzle: Adorable Animals


Here is part of the baby shower gift I made for my little peanut. I think it's my favorite because my hubs helped me make it!


Simple but not easy. All it took was drawing out the animal pictures and wood burning them. I drew and Michael did the wood burning. I finished it off with beeswax polish and voila! A beautiful, natural, handmade baby gift that will actually get used!


I thought about using 6 blocks, but even my clever four year old has trouble with 6 blocks, so I just kept it simple at 4.

Thursday, June 30, 2011

Fastest DIY Playset Yet!


I was having a moment the other day, where there was something I had to sew up, but Daniel was having none of it, so I whipped up this simple toy to keep him busy for a few minutes.


All you need are a few simple supplies:
 -Tin Craft Mailbox (I found ours at Walmart but you can find them at craft stores or by snooping around the net)
-Stamps and ink of any kind
-Little envelopes, blank business cards, index cards, card stock, stiff felt or whatever you have on hand
-Stickers or embellishments and crayons


Just stamp away, pass the cards to your little one and let them decorate!

Saturday, March 19, 2011

Tutorial Test Drive: On The Go Activity Mat


The Fiskars blog has a neat tutorial for a roll up play mat. I loved the ideas for the car wash and the gas station so I adapted it for our upcoming trip.

I wanted something smaller than the project called for because I know how quickly we can mess up our 3 sq feet of airplane space! I found some Mega Bloks Streetz cars at Toys R Us that are Mirco-Machine size rather than Matchbox size. They're so tiny and perfect! The finished play mat size is about 8x11".

I also used a lot of hot glue, rather than stitching everything. It doesn't look as pretty but it takes the skill level down from advanced to intermediate and was way faster! It also allowed me to leave the car wash 'open' so the car can tuck inside for a wash up.

Rather than a pond and a construction site like on the Fiskars tutorial, I made a tunnel and a house with a garage. I didn't have any tiny construction vehicles or boats, so I thought it would be more fun to have a tunnel to drive through (just a little felt rectangle stitched down) and the little garage to park in. I made the garage by snipping the corners off a rectangle, stitching that same end down and then stitching the sides the same as with the tunnel.

I also left out the pockets for the cars because I found a little container with 7 spaces that will hold the cars perfectly and take a little while to master opening. Every minute he's busy on the plane is a good thing for me!

 The Fiskars tutorial is awesome, and looks far more professional, but I am so glad I cut some corners to make it faster. I had this done in an hour and a half and I think Daniel is going to love it!

Thursday, March 10, 2011

Tactile Button Snake Tutorial

I've been working on a plan to keep Daniel busy during our upcoming plane trip to Florida and I definitely have the tendency to go overboard! I love toys, I love gifts, I love making things, I love Daniel and I HATE trying to keep a kid happy in an enclosed space. So, inevitably, I will have too much! But the good news is that it means lots of travel toy ideas for my readers!


This week I made a classic Montessori toy with a twist and I think he will love it. Button snakes are great for fine motor skills and learning how to button. They're usually made with all felt squares, but I wanted to add another element to the activity, so I didn't stop there. I used some wool felt, some old felted sweaters, leather scraps, crocheted cotton squares and cotton fabric.


Making your own is so easy!

You'll Need:

6 inch length of ribbon
1 medium sized button
Any combination of wool felt, fabric, felted sweaters, crocheted squares, leather scraps, paper, fabric etc
Needle and thread

1.) Cut your length of ribbon. Fold over the end twice (like a small hem) and sew your button onto the ribbon tightly.

2.) Make a template for your squares approx 1.5" square. Cut out all your pieces. Making it all out of felt is definitely easiest! If you are crocheting squares:
Row 1: Ch 7, turn.
Row 2: Sc into 2nd from hook and each after (6 sc). Turn.
Row 3-4: Ch 1 and sc 6 across. Turn.
Row 5: Ch 1 and sc in next 2 stitches. Ch 2, skip 2 stitches and sc in last 2 stitches to make button hole. Turn.
Row 6-8: Ch 1, crochet 6 across.
Row 9: Ch 1, sc all around the edge to finish.

3.) Fold each square in half and cut small slits (button holes) in the center.

4.) Choose a square for the bottom of the button snake (you could also use a large button to keep the squares on). Fold the end of the ribbon under to hem and zig zag stitch it on like it's about to endure a nuclear war. Or hand sew if you have no machine!

Simple, right? Depending on your child's interests, you could do shades of the same color, black and white, shapes, patterns, make it seasonal, different sizes of squares etc.

Hopefully he'll have fun and learn something useful. And stay busy on the plane.

Monday, January 17, 2011

Simple and Fun Prechool Craft


Daniel found a little scrap of binding on the floor the other day and asked if he could have it. Eventually, it transformed into a watch. So I asked if he wanted me to sew it into a loop for him. Then, we thought we may as well add a watch face. I was going to use felt, but I was kind of busy and my little wooden tiles seemed so much easier.


A little marker and some hot glue, a scrap of binding and voila! a watch for Daniel and his little buddy!

You could get really fancy and make it out of felt and add working hands with a brass paper fastener or add some velcro on the strap. You could even do a square face and make it digital.

Wednesday, November 10, 2010

Sock Monster Tutorial


Last night I made my very first sock monster, and this is how I did it! Please excuse the photos. It was late, and dark!


I used the heel of my sock as a bum for my little monster, because I wanted her to be able to sit.


Then I cut a small V at the toe of the sock (for ears/eyes). And a slit at the bottom for legs. Make sure not to cut too high on the legs...it should be just a bit below the heel of the sock (the 'bum'). Turn inside out and sew, right sides together, the V for the ears, and the all round the legs. Your monster will be sewn shut with no way to turn right side out, but don't worry!


Next, cut VERY small holes for the arms. They will stretch out a lot, so keep them small. SMALL. Then, flip the monster right side out through the arm holes.


And stuff...

Now for the arms. One the other sock, cut in half lengthwise from the opening to the heel, and across to make 2 arms. I wanted my little monster to have 2 fingers, so I cut a small V in the top of each arm.


Turn inside out and sew, right sides together, leaving the base open. Turn, stuff and sew onto the monster, right where that little hole is. Then, make sure your monster is full enough with stuffing and attach the other arm.


Sew on eyes, and add a felt mouth. I glued the felt on because I was getting tired! I also added a sweet little felt heart by her bum.

If you leave an opening when sewing your monsters legs to turn it inside out and stuff it, you can sew the arms completely shut (after turning and stuffing) and sew them onto the sock without cutting openings. I chose to do it my way because it was faster and I wanted my monster to be a bit funny looking. The other way would look a bit more polished I think.

I am about to start selling DIY Sock monster kits in my Etsy shop, and I think they'll make great gifts for older kids learning to sew.

You Might Also Like:

Related Posts Plugin for WordPress, Blogger...