Showing posts with label gift. Show all posts

Wednesday, September 18, 2013

Bad Blogger, Bad!

I've been a terribly negligent blogger since little Asher was born! Here are just a few things I've been creating since my last post:


Crinkle Toys

Custom I Spy Pillow

Custom Change Pads

Crinkly Teething BonBons

Custom Bandana Bibs

Teething/Nursing Necklaces

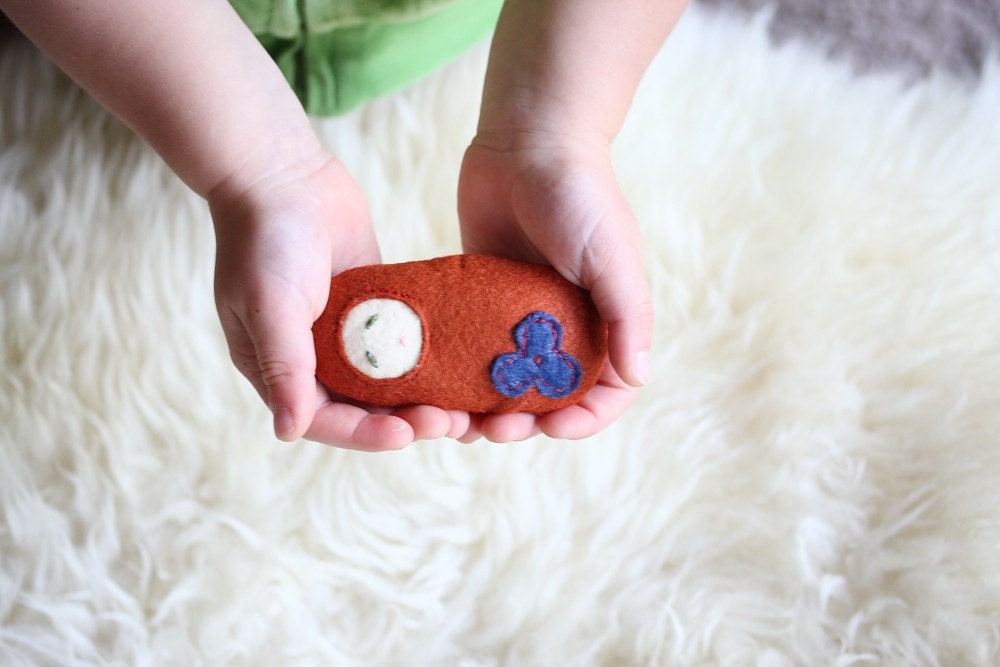
Custom Doll Wraps

Gnome Stackers


See?!? I've been busy! If you're trying to keep up with Bug & Bird, come find me on Facebook. I'm less negligent there!

Friday, December 14, 2012

A Simple, Practical Dinner Gift Basket


Some friends of ours are in the middle of a stressful move, and to add a little support, we made a simple dinner basket up for them. I think this would be a great gift for a new mom, if someone has family in the hospital or just needs a bit of lovin'.


I just layered spinach salad (heaviest ingredients at the bottom!) in a large mason jar, added a pretty loaf of bread and some poppy seed dressing on the side and popped it into a basket. Simple, beautiful and helpful. I'll definitely do this again!

Ingredients, in order from bottom up:
Mushrooms, sliced
Grape Tomatoes, whole
Grated Cheddar
Hard boiled Egg (one and a half), sliced
Bacon, diced
Lots of baby spinach

Will keep in the refrigerator for 2-5 days depending on how fresh the ingredients are.

Friday, May 11, 2012

DIY Mother's Day Flower Pots


Here's a pretty, handmade gift for the mom in your life this Mother's Day. It cost us under $15 and can be finished in a lazy afternoon.


Supplies:
Clay Pot; big enough to hold your herbs or flowers
Dirt
Permanent Marker
Chalkboard Paint 
Masking Tape
Optional: acrylic paint for a border


We taped off a rectangle with the masking tape and painted it with blackboard paint according to the directions on the bottle. When it was dry, we peeled off the tape and wrote on the opposite side with Sharpies. Once we had planted our basil, we added the white border and left it to dry.

Friday, February 24, 2012

Easy Custom DIY Decor- Yarn and Twine Wrapped Ball Tutorial


Here's a super easy project that you can customize for your color scheme; yarn wrapped balls.

Materials:
Glue Gun or Glue Dots
Yarn/Twine/String/Rope
Styrofoam balls in desired sizes

Instructions:
1.) Glue one end of your yarn to the Styrofoam ball.
2.) Wrap and wrap until it's all covered and looks pretty.
3.) Cut the yarn and glue the other end down.

Yup, easy as 1-2-3. A cool DIY design project done in 20 minutes.


This would be a great housewarming or hostess gift! Easy, cheap, fast and made to co-ordinate with their decor!

Thursday, November 24, 2011

Baby Gift: Twin I-Spy Mini Quilts


 Look what I made for some darling twin boys! Mini I-Spy quilts, perfect wiping drool right now and for tummy time, strollers and car seats later. It could even be used as a tic-tac-toe mat when they're older!

I love I-Spy quilts for kids. So much too look at! When I was little I had a scrap quilt from my great grandmother that I still remember. I used to spend hours looking at it, and I remember my favorite part was a snoopy scrap. Hopefully these little ones will have fond memories of their little quilts too.


And a couple of little wooden teething rings to match! Not how I usually make them, but they sure are cute!

Wednesday, November 16, 2011

Seasons Coasters from my Little Artist


I have been running around like a chicken with my head cut off for the last two weeks. Lots of family emergencies (everyone's ok now) and getting ready for a craft sale has made it almost impossible to try any new projects or sit down to blog. But I miss my blog so I had to pop in to show you a present from my little guy.

We went ceramic painting a few months ago and I chose coasters for Daniel because I knew it would be like four separate paintings and take him a little longer than just slathering something in purple for 3 minutes!

I suggested he paint the seasons and he did a great job. I was going to suggest giving them to his Gramma and Grampa for Christmas, but when we picked up the package from the shop and he said they were for his Dad and I, they went straight onto the table! I thought I should share before Christmas in case you're looking for a gift for your little one to give this year.

Saturday, October 22, 2011

Easy Wooden Alphabet Blocks Tutorial


Here are a few lost photos of some ABC blocks I made for Daniel when he was learning his letters. He still loves them and now he's using them to spell. They're so easy to make!

Supplies:
Jenga Blocks (I used a no-name brand and saved a few dollars)
Permanent Marker, preferably non-toxic
Paper
Optional-Stencils, if you don't like drawing!


1.) Plan your simple drawings for each letter on the sheet of paper. Simple is best. Here are the objects I used, in alphabetical order:
Apple, Balloon, Candles, Duck, Egg, Fire, Gingerbread man, Hat, Ice cream, Juicebox, Kite, Leaf, Mittens, Nose, Oven, Pencil, Queen, Rabbit, Stars, Teepee, Umbrella, Vacuum, Watermelon, Xylophone, Yarn, Zipper.

2.) Start drawing! It only took me one evening for the whole project because I made everything as simple as possible. I drew the upper and lower case letter with a picture of an object starting with that letter on one side, and left the other blank. I repeated the capital letter on both ends of the block as well.

3.) I used a few of the extra blocks for simple sight words as well. Right after I gave Daniel his blocks, he saw a coupon (he had just turned 3) and said "Mommy, why does this paper say 'off'?" I just about fell over! I wrote one word on each side On/Off, Mom/Dad, Open/Close, Yes/No, Go/Stop, Hi/Bye etc.


This is a great gift because you can personalize it for your child with color, drawings and sight words that you think they'd enjoy!

Monday, June 13, 2011

Hegehog Themed Baby Shower Gift

I've outdone myself! My first baby gift basket was cute, but this one is to die for!


It all started with finding this adorable wooden hedgehog clock at Superstore. I knew it would look perfect in my goddaughter's room, although I was tempted to keep it for myself!

I found this great hedgehog softie tutorial and whipped one up right away in Michael Miller's Hegehog's color scheme.


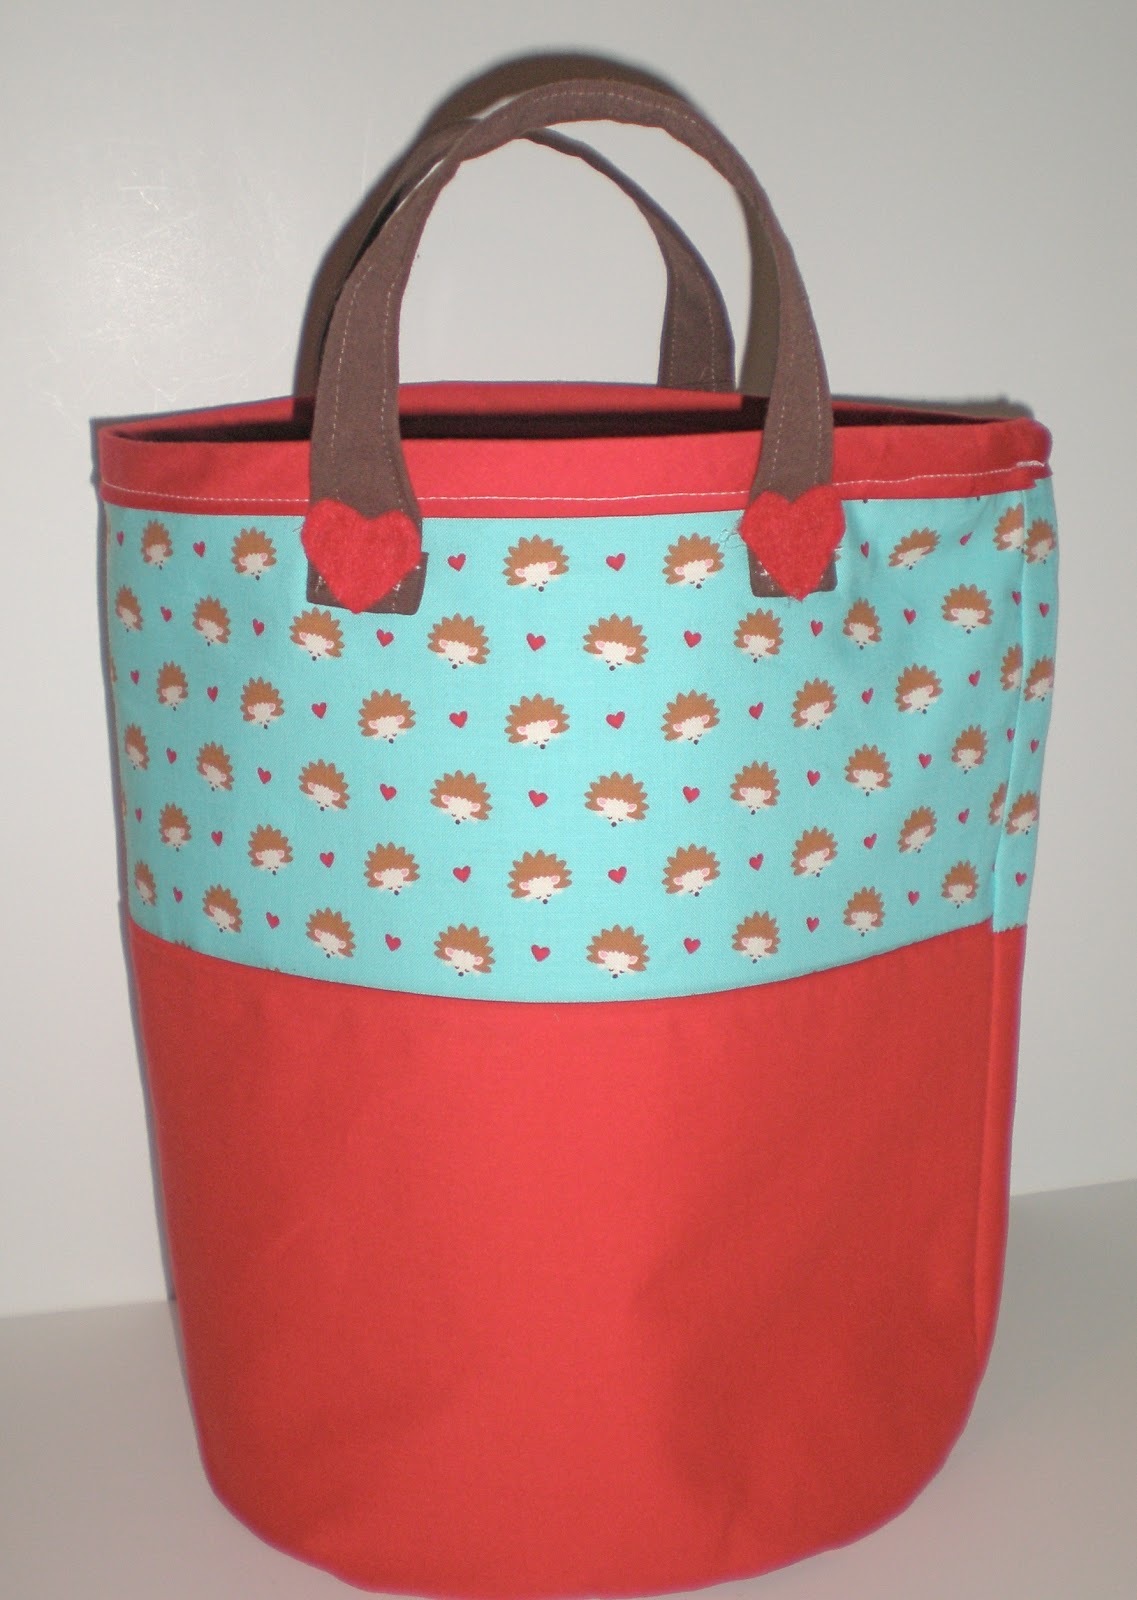
I added a Bagsket to hold it all, and although the colors won't match baby's room, it will be a great tote for car toys.


Next month, I plan on hosting a second shower for a different crowd and I have a few things up my sleeve for my little peanut. Can't wait to show you!

Tuesday, March 22, 2011

Do It Yourself Toadstool Pencils!


My toadstool pencils started selling so fast that I had to raise the price in order to keep whatever sanity I have left. Which got me thinking....this is so simple, why not make a kit? Saves you money, and me time!


I'm a DIY kind of girl and I love passing on what I learn by trial and error. Sometimes figuring a project out is a very frustrating process and I think that's why I love selling my various DIY kits so much. I love making creativity simple!

Plus, this way, you can make a simple and unique gift and say "I made it myself!"

Saturday, March 19, 2011

Tutorial Test Drive: On The Go Activity Mat


The Fiskars blog has a neat tutorial for a roll up play mat. I loved the ideas for the car wash and the gas station so I adapted it for our upcoming trip.

I wanted something smaller than the project called for because I know how quickly we can mess up our 3 sq feet of airplane space! I found some Mega Bloks Streetz cars at Toys R Us that are Mirco-Machine size rather than Matchbox size. They're so tiny and perfect! The finished play mat size is about 8x11".

I also used a lot of hot glue, rather than stitching everything. It doesn't look as pretty but it takes the skill level down from advanced to intermediate and was way faster! It also allowed me to leave the car wash 'open' so the car can tuck inside for a wash up.

Rather than a pond and a construction site like on the Fiskars tutorial, I made a tunnel and a house with a garage. I didn't have any tiny construction vehicles or boats, so I thought it would be more fun to have a tunnel to drive through (just a little felt rectangle stitched down) and the little garage to park in. I made the garage by snipping the corners off a rectangle, stitching that same end down and then stitching the sides the same as with the tunnel.

I also left out the pockets for the cars because I found a little container with 7 spaces that will hold the cars perfectly and take a little while to master opening. Every minute he's busy on the plane is a good thing for me!

 The Fiskars tutorial is awesome, and looks far more professional, but I am so glad I cut some corners to make it faster. I had this done in an hour and a half and I think Daniel is going to love it!

Thursday, January 6, 2011

Glittery Christmas Reindeer (or "how to make a huge mess when you're already obscenely busy")

I had the Dayhome Christmas party on the last day that the kids were here. Usually we do a few activities, or a craft and I give them each a gift. This year I thought it would be a great idea to combine the party craft with the craft we make for parents. Oops. At least it turned out cute!

You'll need:
Spray adhesive (We used Elmers, but next time I'd try something else)
Glitter (Martha Stewart glitter worked best for us)
Something to Glam Out. Thrift stores often have ceramic deer figures, or you can use plastic animals, or anything your heart desires.
A lot of newspaper


I found these sweet little acrylic reindeer at Superstore (on clearance!) and thought they'd be perfect.


Spray the whole object with the spray adhesive, one object at a time. The glue becomes less tacky if you wait.


Shake glitter all over the place. We ended up taking handfuls of sparkles and rubbing them right on as well, there were a lot of grooves in these things! Notice how my hands look after about 4 seconds.


I also added a coat of Krlyon Acrylic Crystal Clear spray paint to prevent the glitter from coming off, but I don't think it did much. They look adorable, but I spent weeks cleaning the floors and washing glitter out of every imaginable place! Next year when I pull them out, I am going to tie bright purple ribbon around their necks. Cute!

Thursday, November 25, 2010

Simple Favor

I had a local customer put in a big order and wanted to add a little something to say "thank you" while I was packaging it up.

The problems with this are many...
you have to keep costs down so you don't have to raise prices
you want it to be something fun or useful so it doesn't end up in the trash
you want your little parcel to still be able to fit through "The Slot of Doom" at the post office

Stroke of Genius! Hand stamped napkins. So simple, thoughtful and fun. Everyone uses napkins and they pack down flat.


Here are my adorable green matryoshka napkins. I think I want some for me! I think they would make great hostess gifts, add-ons for a foodie or fun to stamp in your theme for a party. Just make sure that you use waterproof/archival ink, or your guests may end up with mustaches!

Thursday, November 11, 2010

Cowls for my Craft Sale


Here are a few photos of some cowls I've made for the 20th. I'm really happy with how they have turned out and how different they all are!

Saturday, November 6, 2010

$5 Christmas!


I am SO excited about some of my latest finds on Etsy. ALL for $5!

Check it out...amazing, handmade goodies for your loved ones!

$5 Finds For Kids
$5 Finds For Everyone on Your List
$5 Finds for Friends and CoWorkers

And one more thing. Even better thank $5 gifts is FREE gifts!
Remember to enter my Mini-Matching Game GIVEAWAY!

You Might Also Like:

Related Posts Plugin for WordPress, Blogger...