Showing posts with label red. Show all posts

Monday, November 28, 2011

Vintage and Salvaged Frames into Chalkboards: Tutorial


I ended up with an extra table to fill in a week at my last craft sale (don't ask...) and I wanted to make grown up things for a change. I went scouting at a few thrift stores and found some awesome frames. The plan was to spray paint the frames in nice lively colors and spray paint the glass in chalkboard paint, but as you know, something always goes wrong when I'm crafting something new!

What you need:
Frames
Chalkboard paint (spray or paint on)
Spray paint
Drop Cloth

It turns out that vintage frames are often made a lot differently than modern ones, which mean ripping out nails and hammering them back in and accidentally breaking glass that was seemingly permantently affixed. On one frame, it seemed that the glass was actually trapped in the wood somehow. On that one, I taped off the frame and painted, rather than spraying.

On the ones without glass, or where I broke the glass (wah!) I tried many things. First I called Michael's to ask about custom cut glass, but it was super expensive. Then I went to Home Depot to look for small cuts of sheet metal (magnetic!) or plywood, but no one could help me troubleshoot. I eventually came home and used some fiberboard/poster board from my office supply stash and it worked like a charm.

There was lots of troubleshooting, but the results were great, and people loved the big ones! I think I'll try it again, now that I know what I'm doing!

Wednesday, October 12, 2011

Fabric Covered Bulletin Board


 This is such a super easy project that made the colors in my craft room really come together. A lovely friend of mine gave me a bulletin board with a pretty frame for my birthday, and now that I've added my fabric it looks double-amazing! I think I shall call it "almost art".


All I had to do was take the cork board out of the frame, cover with fabric and put it back in. I didn't even staple or tape it. Now, when my son draws me a picture we cut a piece out and tack it on the board, the rest goes into the recycling. I'm very glad he doesn't get too attached to his pictures!

Wednesday, September 7, 2011

DIY Craft Room/Office Makeover Revealed!

Finally, I'm done. Well...mostly. I still need to reorganize my closet, but it's good enough for now!

My desk. Notice the pipe-cleaner decor by Daniel.

I'm ever-so-pleased with how the red/turquoise/blue color scheme turned out. It's subtle since it's mostly in the accessories, but gives the space a little creative 'pop'.


I love the kid-friendly crafting space. With the junk pile we had going on before, I was always shooing Daniel out or stressed because of the mess, but now he is a crafting-machine! I love, love, love the small lack shelves at his height. Anything I want him to be able to reach himself goes there and he can just help himself.


The best part for me is definitely the shelves above my sewing table. They look nice, store a ton of fabric and other bits and pieces and keep things close by, but out of the way!

My beloved Lack shelving holding my fabric stash!

A plastic tray holds all my sewing notions

Storage is everywhere! I have so much storage now, some of it is even empty! I have plastic drawer units and hanging shelves in the closet, boxes and buckets, and shelving everywhere. How dreamy!


Pretty much everything is from Ikea which kept cost down and the look consistent, which I think makes a small space look bigger. Hooray for an efficient, pretty space to create in!

Monday, June 13, 2011

Hegehog Themed Baby Shower Gift

I've outdone myself! My first baby gift basket was cute, but this one is to die for!


It all started with finding this adorable wooden hedgehog clock at Superstore. I knew it would look perfect in my goddaughter's room, although I was tempted to keep it for myself!

I found this great hedgehog softie tutorial and whipped one up right away in Michael Miller's Hegehog's color scheme.


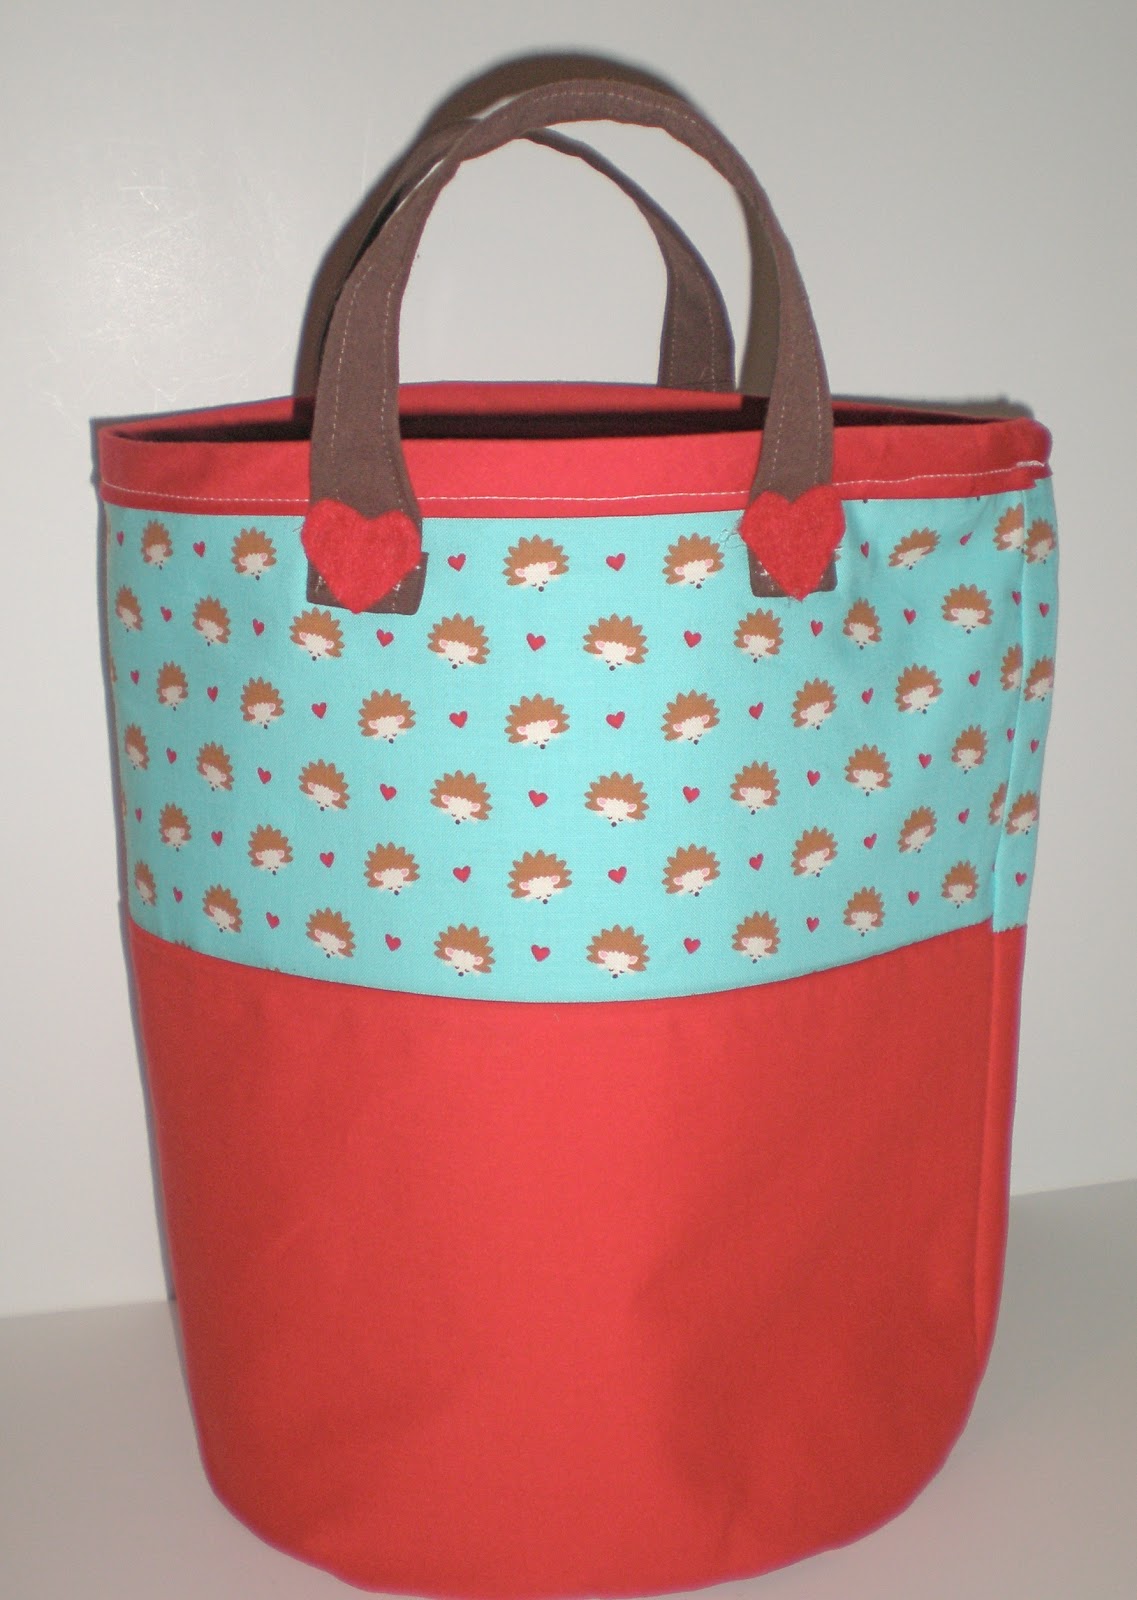
I added a Bagsket to hold it all, and although the colors won't match baby's room, it will be a great tote for car toys.


Next month, I plan on hosting a second shower for a different crowd and I have a few things up my sleeve for my little peanut. Can't wait to show you!

Friday, June 10, 2011

Perfect Little Hedgehog Softie

Look what I made!


Cute...right? I made it for a baby gift, but what I really love about this pattern is that it's perfect for anyone. It could be made smaller and used as a key chain for a teen or it can be a money or chapstick holder for a tween or school-ager. It's a great baby toy or make a few and voila! A family of Hedgehogs for a preschooler.  It would even be a great gift card holder and it's gender-neutral. I'm in love.


 The only things I changed were that I embroidered the nose rather than attaching felt (seemed safer since it's for a baby), I made the felt spikes into loops so I can attach baby links and I did a quirky little contrasting whip stitch as a finish rather than an invisible ladder stitch because I thought it suited my little guy.

Can't wait to show you the whole gift!

Thursday, February 3, 2011

Easy Dinosaur Costume Tutorial


Daniel's preschool had Dino Day last week and I somehow missed them memo about dressing up or bringing along a dinosaur toy. Naturally, I chose the ridiculous option of making a costume myself the night before. Much easier than buying a $2 toy...right? Besides, I'm pretty sure there were at least 3 dinosaurs at Halloween.

I wanted it to be cheap, quick and fun so I decided to make the costume on a hoodie (we got ours at American Apparel) so I could take it apart and put the sweater in his closet.


You will need:
Hoodie in color of your choice
Stiff felt in contrasting/co-coordinating color (minimum cut, 0.2 m was plenty)
Regular felt (not flimsy craft felt) to match hoodie (0.2 m)
Stuffing (wool or recycled polyfil are best)
Enough elastic to go around your child's waist OR 2-3 safety pins


1. Fold the matching, soft felt in half. Cut a tail shape approx 4" tall and 20" long.


2. Cut triangles out of the stiff felt. I cut a 3" strip out of the felt and cut triangles with a base that is slightly smaller than the sides. Aprrox 3x3x2.5". Pin the triangles into the fold of the tail.


3. Trim the end of the tail to the edge of the last triangle and sew the triangles onto the tail. Stuff the tail.

4. Pinch the opening of the tail closed perpendicular to your seam and pin. 


5. Sew the tail shut. The beauty of using felt is that there is no turning. That's part of the reason this project is quick! You can either use safety pins to fasten the tail onto your child's pants, or sew a length of elastic (1 inch shorter than your child's waist measurement) onto the tail. I sewed mine on the under-side of the seam that closed the tail up.


 6. Cut more of the same size triangles out of the stiff felt and cut a small slit in the center of the bottom side of each triangle. You will need 4-6 depending on how big they are and how big the hood is.


7. Line each triangle up, one at a time, on the center seam of the hood. One side of the slit goes on the left of the seam, and one side on the right. Sew with a running stitch, and NO back stitching, along each side of the split to fasten the triangles. This is the hardest part.

I didn't back stitch and used a running stitch is so I can easily rip it out after. If you want yours to stay on forever, by all means do it differently!

8.  Next, I cut out little claws to attach onto the sleeves. Same thing, running stitch and no back stitching.


9. Now to embellish! I used small and large circles on the back and chest only. I tried using a fabric spray adhesive to keep the felt on the hoddie, but it wouldn't hold. I think if I could have found a thinner felt in the same blue, the spray adhesive would have worked. Instead, I sewed just a few stitches in the center of each circle so I could take them off easily.

Sparkly felt, an oval-shaped tummy on a pullover sweater or multiple colors would be fun too.


And here's my little dinosaur all dressed up. Ironically enough, he was the only one with a costume! Maybe I need to drink less coffee!

Wednesday, November 10, 2010

Sock Monster Tutorial


Last night I made my very first sock monster, and this is how I did it! Please excuse the photos. It was late, and dark!


I used the heel of my sock as a bum for my little monster, because I wanted her to be able to sit.


Then I cut a small V at the toe of the sock (for ears/eyes). And a slit at the bottom for legs. Make sure not to cut too high on the legs...it should be just a bit below the heel of the sock (the 'bum'). Turn inside out and sew, right sides together, the V for the ears, and the all round the legs. Your monster will be sewn shut with no way to turn right side out, but don't worry!


Next, cut VERY small holes for the arms. They will stretch out a lot, so keep them small. SMALL. Then, flip the monster right side out through the arm holes.


And stuff...

Now for the arms. One the other sock, cut in half lengthwise from the opening to the heel, and across to make 2 arms. I wanted my little monster to have 2 fingers, so I cut a small V in the top of each arm.


Turn inside out and sew, right sides together, leaving the base open. Turn, stuff and sew onto the monster, right where that little hole is. Then, make sure your monster is full enough with stuffing and attach the other arm.


Sew on eyes, and add a felt mouth. I glued the felt on because I was getting tired! I also added a sweet little felt heart by her bum.

If you leave an opening when sewing your monsters legs to turn it inside out and stuff it, you can sew the arms completely shut (after turning and stuffing) and sew them onto the sock without cutting openings. I chose to do it my way because it was faster and I wanted my monster to be a bit funny looking. The other way would look a bit more polished I think.

I am about to start selling DIY Sock monster kits in my Etsy shop, and I think they'll make great gifts for older kids learning to sew.

Wednesday, July 28, 2010

My craft swap gift is ready to send!

I am SO excited to be a part of Callie's craft swap over at The Magical Bean. It's my first swap, and I can't wait to send the gift to my partner sometime next week. I crocheted her a neck warmer with two strands of bulky yarn and a #12 crochet hook. I am including a choice of 2 different brooches to close it with.


It turned out to be so soft and cozy, and I love how the brooches turned out. The flower was based on a Martha tutorial. It was simple, but took a little fiddling to glue it all nicely in place. I also wished I would have had a bit more than 1 yard of lace on hand. Although it turned out to be a nice size, I would have liked to have the option of making it bigger. The other brooch is made from a wooden circle. I stamped it with a stamp from my Yellow Owl Workshop Cityscape Stamp Set. I love how it all turned out and hope it suits my partner!

You Might Also Like:

Related Posts Plugin for WordPress, Blogger...