Showing posts with label cheap. Show all posts

Wednesday, October 10, 2012

Vintage Chair Make Over


 I bought this great/ugly vintage chair for $10 and couldn't wait to spruce it up. Just a couple coats of yellow spray paint and some new faux bois fabric on the seat. Voila! An updated chair for $20 and an easy half-days work. 


Unfortunately, I couldn't quite get a yellow that matched with the art in my bedroom (more on that next time...) so I sold it. For $40. Woo Hoo! I love DIY. But I am still looking for another chair...

Thursday, May 17, 2012

Rainy Day Entertainment


The easiest and cheapest way to keep a child entertained while you do the dishes (or drink some coffee while procrastinating):
Use a plastic grocery bag as a parachute.

He lasted almost an hour by himself. Adding a cape and superhero gloves may have gotten me past an hour. Especially if I had given him a stuffed animal to rescue from a burning building.


Friday, May 11, 2012

DIY Mother's Day Flower Pots


Here's a pretty, handmade gift for the mom in your life this Mother's Day. It cost us under $15 and can be finished in a lazy afternoon.


Supplies:
Clay Pot; big enough to hold your herbs or flowers
Dirt
Permanent Marker
Chalkboard Paint 
Masking Tape
Optional: acrylic paint for a border


We taped off a rectangle with the masking tape and painted it with blackboard paint according to the directions on the bottle. When it was dry, we peeled off the tape and wrote on the opposite side with Sharpies. Once we had planted our basil, we added the white border and left it to dry.

Monday, March 19, 2012

Tutorial: DIY Forward Facing Bookselves


I love forward facing bookshelves and have been wanting to buy some for quite a while. I'd been putting off making a purchase and snooping for tutorials for a while when I finally found a great tutorial on JOT.

In true Freya style, I skimmed the tut and winged it. Here's how I DIY'd all four of these shelves for under $25 including paint. It was actually really easy, especially since they did the cuts for free at the hardware store.

Supplies:
2x2x8 lumber (mine were cut into 4' lengths by the guy at Home Depot)
Trim, 2.5-3" tall and cut to the same length as your lumber. I used flat back baseboard trim with a simple profile.
Glossy Paint. Glossy is more durable. I used quick dry spray, but any kind you like works.
Flathead Wood Screws #12 x 3". We used 3 screws per 4' length
1.5" Finishing nails
Drill
Hammer or Nail Gun
Stud Finder
Level
Measuring Tape

1.) Paint your wood and trim the day before.


2.) Pick your spot on the wall. Use the stud finder to locate your studs and shift your position so the spacing is reasonably even. Using your level, make marks, on the studs, where you want the screws to go. We put the center screw on one stud and the outside screws into the next stud on either side.


3.) Pre-drill holes into the lumber and the wall. Staring in the center, screw the lumber to the wall. Check for level BEFORE you screw the end screws in!


4.) Decide on your spacing and continue on up the wall. We used 16" gaps between each of our 4 shelves.


5.) Nail trim to the front of your shelves. Make sure the bottom and corners are flush and nail away. Space the nails differently than the screws so you don't nail into metal! We used 4 nails on each shelf.


6.) Done! I just touched up the nail heads with a little white craft paint and that was it. The project only took and hour and a half or so after the painting was done.


One of my best bang-for-the-buck DIY projects so far. $2 per 2x2x8, $0.59 per foot for the trim, $8 for screws and nails and $5 for paint = $22 total!

Friday, February 24, 2012

Easy Custom DIY Decor- Yarn and Twine Wrapped Ball Tutorial


Here's a super easy project that you can customize for your color scheme; yarn wrapped balls.

Materials:
Glue Gun or Glue Dots
Yarn/Twine/String/Rope
Styrofoam balls in desired sizes

Instructions:
1.) Glue one end of your yarn to the Styrofoam ball.
2.) Wrap and wrap until it's all covered and looks pretty.
3.) Cut the yarn and glue the other end down.

Yup, easy as 1-2-3. A cool DIY design project done in 20 minutes.


This would be a great housewarming or hostess gift! Easy, cheap, fast and made to co-ordinate with their decor!

Thursday, August 18, 2011

DIY Labels!

I finally started making my own labels. There are so many methods, but I finally chose to use iron on transfer paper and ribbon or twill tape.

First, I made a sheet of labels in Keynote (PC users can use Powepoint). I added and re sized my logo to fit on the 1 inch ribbon, then copied and pasted as many times as it would fit on a sheet of paper. You must flip your logo so that it's a mirror image.


Next I cut the labels out of the transfer paper, cut strips of ribbon to size and ironed very thoroughly.

Most of them I made as pictured to fold into a loop and sew into seams, but I also made some with my logo horizontal, tucked the ends in and zigzag stitched straight onto a flat surface.

Easy-peasy and no turnover time!

Wednesday, July 13, 2011

Fancy Pants


I made my first pair of pants! Think of all the money I'll save...ahhh.

I'm so grateful for awesome tutorials at Made By Rae. I love the seersucker fabric and how simple they were to make. I made some mistakes and they're way too small, but I know I can nail it next time!

Thursday, June 30, 2011

Fastest DIY Playset Yet!


I was having a moment the other day, where there was something I had to sew up, but Daniel was having none of it, so I whipped up this simple toy to keep him busy for a few minutes.


All you need are a few simple supplies:
 -Tin Craft Mailbox (I found ours at Walmart but you can find them at craft stores or by snooping around the net)
-Stamps and ink of any kind
-Little envelopes, blank business cards, index cards, card stock, stiff felt or whatever you have on hand
-Stickers or embellishments and crayons


Just stamp away, pass the cards to your little one and let them decorate!

Saturday, November 6, 2010

$5 Christmas!


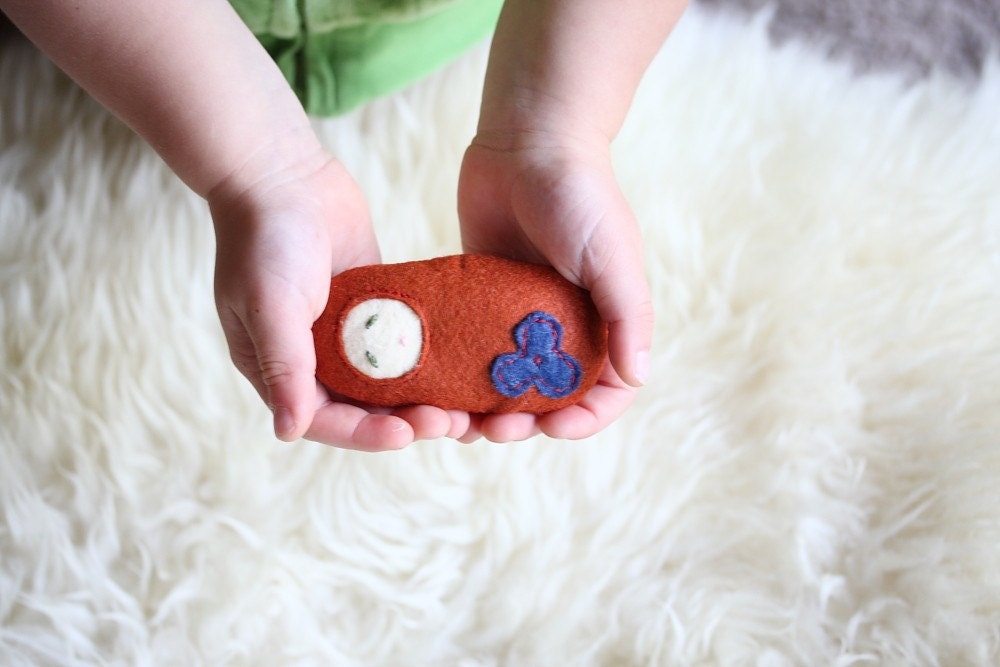
I am SO excited about some of my latest finds on Etsy. ALL for $5!

Check it out...amazing, handmade goodies for your loved ones!

$5 Finds For Kids
$5 Finds For Everyone on Your List
$5 Finds for Friends and CoWorkers

And one more thing. Even better thank $5 gifts is FREE gifts!
Remember to enter my Mini-Matching Game GIVEAWAY!

Thursday, October 21, 2010

Homemade Stocking Stuffers Part 2: Preschoolers

A few weeks have passed since part one...I don't know where the time went! Busy, busy, busy with getting ready for my first craft sale!

So, at last, Part 2 of my Stocking Stuffer Series. Keep your eyes open for the school age list in the next week or so!

Preschoolers:

Baby Food Jar Matching Game: A friend shared this link with me, for how to make a matching game from jar lids! She even shares her images so all you have to do is print and paste!

Homemade Modeling Beeswax: Recipe- 1 cup of beeswax, 2 tbsp olive oil, 2 tsp lanolin. Melt beeswax over low, remove from heat and stir in oil and lanolin. You can add grated crayon for color. Let it cool in a lined pan. If it's too soft, add a litle more beeswax, if it's too hard add a little lanolin. You can find all the ingredients at most health food stores

Mini Notebooks: It's basically as easy as picking one scrapbooking paper that you like for the cover, cutting it to size, cutting blank paper just a smidge smaller, fold in half, staple in the center and then stamp or embellish the cover!

Crayon Roll: This is a perfect mate to the mini-notebook! It's a great beginner sewing project and because it's small it's easily done by hand too. There are tutorials all over the place, but I like this one.

Funky Fleece Scarf: There's a great tutorial here for a fun, simple scarf. Preschoolers love funky accessories!

Bath Paint: A great way to get a reluctant bather into the tub! Mix 4 Tbsp cornstarch, 1/3 cup body wash and food coloring. Add extra cornstarch if it's not thick enough. Store in plastic containers with lids and top with a paintbrush!

Craft Kit: Put some googly eyes, popsicle sticks, feathers, pipecleaners, ribbon and yarn in a ziploc bag. This is a great thing for when the Christmas excitement wears off just before dinner and you need to distract them!


Lick-and-Stickers: Make your own lick and stick stickers! Cut out your images from magazines, coloring books, old art projects or scrapbook paper. Add a pkg of gelatin to 1/2 cup water. Stir to dissolve gelatin and paint onto the back of images. Let dry wet side up. When they're dry, they're ready to be licked and sticked!

Apron: Kids love helping in the kitchen and an apron makes preschoolers feel even more grown up! You can find all sorts of tutorials and patterns on line and in books. I use the kids patterns in The Perfect Apron.

Shape Crayons: I just bought a silicone ice cube tray from Ikea that I am going to use to make shaped crayons as gifts for Daniel's classmates. All you do is warm the oven, break up crayons into the mold, turn off the oven, wait until they melt and remove and cool. Simple and fun.

Next Week: School-Agers!

You Might Also Like:

Related Posts Plugin for WordPress, Blogger...