Showing posts with label play. Show all posts

Thursday, May 17, 2012

Rainy Day Entertainment


The easiest and cheapest way to keep a child entertained while you do the dishes (or drink some coffee while procrastinating):
Use a plastic grocery bag as a parachute.

He lasted almost an hour by himself. Adding a cape and superhero gloves may have gotten me past an hour. Especially if I had given him a stuffed animal to rescue from a burning building.


Monday, October 10, 2011

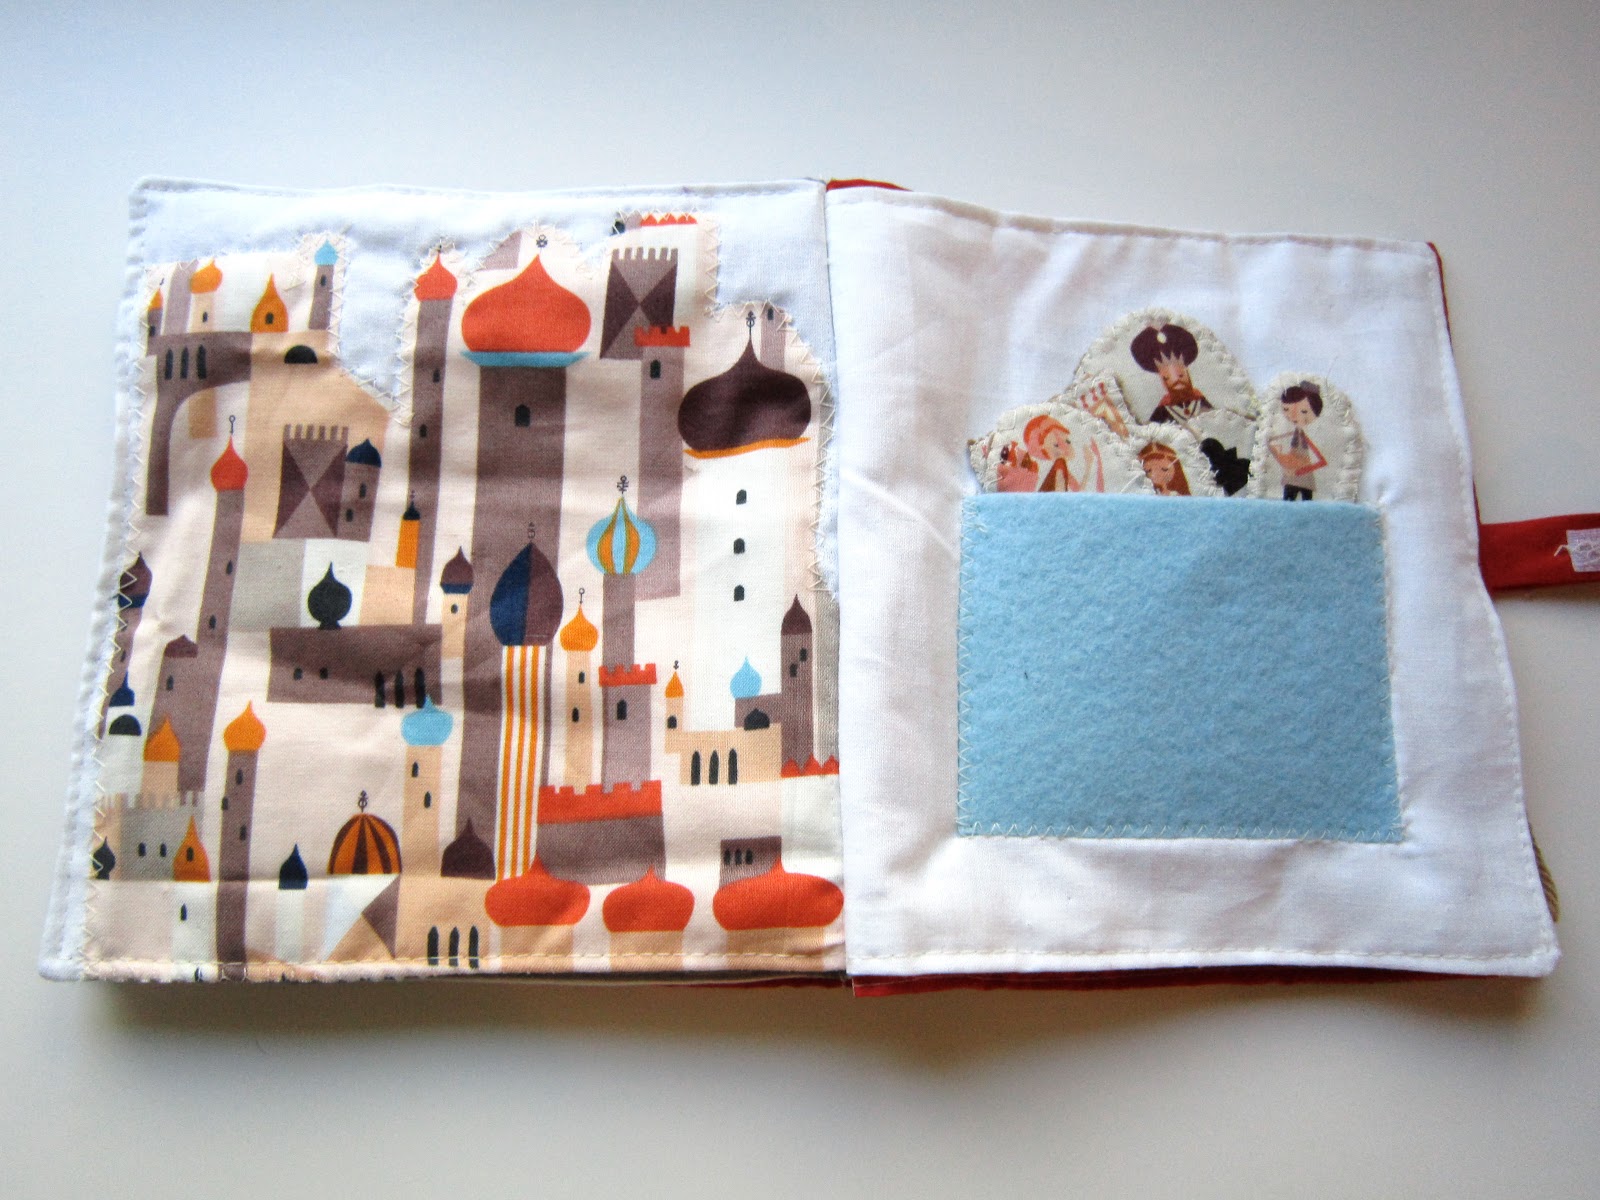
Quiet Book Photo Bonanza!

Baby Shower Basket post #3! I always wanted to make a quiet book for Daniel, but couldn't seem to carve out the time. Now Daniel's older and things are much easier so I decided to try it for the baby shower.  I think it's going to be a great toy for restaurants, traveling, church or the car. A few of the older kids got to test drive it, and hands down, the oven was the favorite! So, without further ado, here's the photo bonanza!


Fun, right? I hope my little peanut enjoys it as much as I would have when I was small!

Thursday, June 30, 2011

Fastest DIY Playset Yet!


I was having a moment the other day, where there was something I had to sew up, but Daniel was having none of it, so I whipped up this simple toy to keep him busy for a few minutes.


All you need are a few simple supplies:
 -Tin Craft Mailbox (I found ours at Walmart but you can find them at craft stores or by snooping around the net)
-Stamps and ink of any kind
-Little envelopes, blank business cards, index cards, card stock, stiff felt or whatever you have on hand
-Stickers or embellishments and crayons


Just stamp away, pass the cards to your little one and let them decorate!

Friday, April 1, 2011

So Cute!


Yellow Owl Workshop has done it again! They have some adorable new stamp sets, including this tic tac toe set! So fun!

Saturday, March 19, 2011

Tutorial Test Drive: On The Go Activity Mat


The Fiskars blog has a neat tutorial for a roll up play mat. I loved the ideas for the car wash and the gas station so I adapted it for our upcoming trip.

I wanted something smaller than the project called for because I know how quickly we can mess up our 3 sq feet of airplane space! I found some Mega Bloks Streetz cars at Toys R Us that are Mirco-Machine size rather than Matchbox size. They're so tiny and perfect! The finished play mat size is about 8x11".

I also used a lot of hot glue, rather than stitching everything. It doesn't look as pretty but it takes the skill level down from advanced to intermediate and was way faster! It also allowed me to leave the car wash 'open' so the car can tuck inside for a wash up.

Rather than a pond and a construction site like on the Fiskars tutorial, I made a tunnel and a house with a garage. I didn't have any tiny construction vehicles or boats, so I thought it would be more fun to have a tunnel to drive through (just a little felt rectangle stitched down) and the little garage to park in. I made the garage by snipping the corners off a rectangle, stitching that same end down and then stitching the sides the same as with the tunnel.

I also left out the pockets for the cars because I found a little container with 7 spaces that will hold the cars perfectly and take a little while to master opening. Every minute he's busy on the plane is a good thing for me!

 The Fiskars tutorial is awesome, and looks far more professional, but I am so glad I cut some corners to make it faster. I had this done in an hour and a half and I think Daniel is going to love it!

You Might Also Like:

Related Posts Plugin for WordPress, Blogger...