I have been so unmotivated to create these past couple weeks. The hubby has been ridiculously busy with exams, papers and studying and I've been alone with Daniel a lot. Add in Christmas preparations and it makes for a pretty busy time.
One things I've learned about myself is that I cannot create in a messy environment and to put it mildly my workspace has been messy. I've been picking up lots of supplies to get ready for the Naturally Trade Fair, and not sorting them as they come in. I've been filling orders and not tidying up before I dash to the post office with 2 or 3 small children. The messier it gets, the less motivated I am.
Finally, today, I got things back under control and already my mind is spinning with ideas and I'm chomping at the bit to get crafting again. Funny how much our environment determines our mood. I can't wait to package up my new stickers and sock monster kits and sew up some aprons with my new fabric. Be on the lookout...I'm motivated AND inspired now!

Sunday, December 19, 2010
Tuesday, December 14, 2010
Making Class Gifts: Part 2

Finished and delivered! They couldn't have turned out any cuter. Well, unless we used glitter, but I'm not crazy.


I really wanted Daniel to be able to make most of everything, but I knew he would never get through 18 cards! So he made one and we photocopied it. So much easier, more fun and looked great!
We drew a snowman on the front, put a cute little poem (that I still have memorized from my preschool days) inside and he signed his name. Attaching the rainbow heart crayons was no easy task! I tried double sided tape, tape loops and contemplated an elaborate ribbon structure and crazy glue. But then my genius came back.

I put a tape loop on the card where I wanted the crayon to go, topped that with hot glue and pressed the crayon on. Worked like a charm! Now it won't ruin the card, and the glue will just peel off of the crayon. When all was said and done, I also decided to pop them into cellophane jewelry bags just in case the crayons came off. Better safe than swearing. Ahem, 'sorry'.
So if you need a simple class gift for your little one, go back to Part 1 and create away!
Saturday, December 11, 2010
Making Class Gifts: Part 1

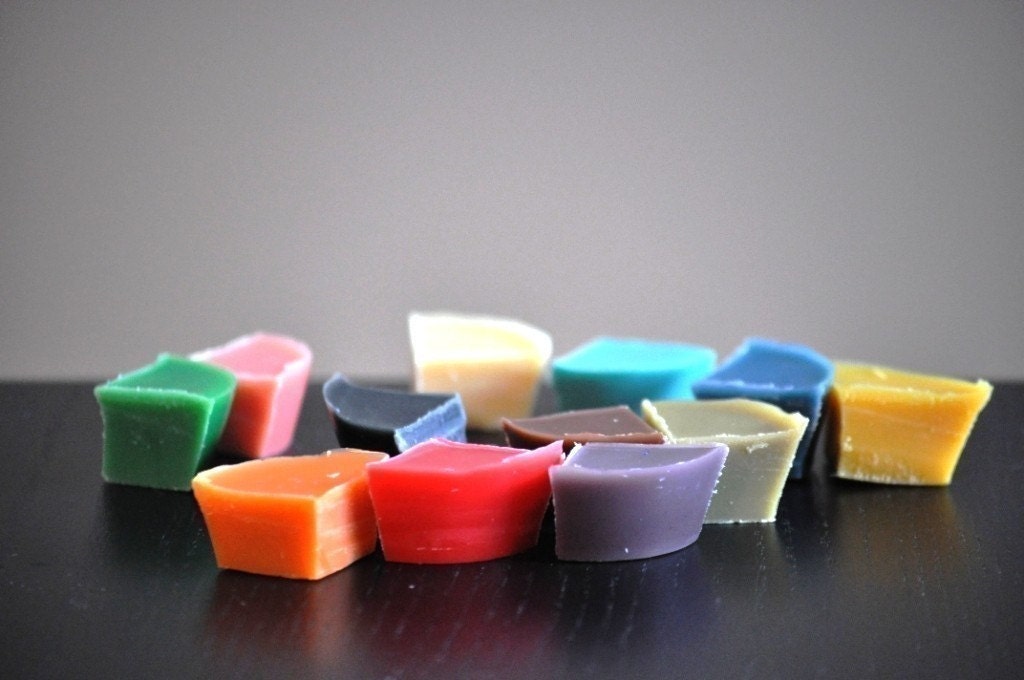
Daniel and I are working on a little craft for his school buddies this weekend. I wanted to make something simple and fun that Daniel could actually help with, so we decided on rainbow crayons. He helped me peel off the paper labels and break up the crayons.

I found a silicone ice cube tray at Ikea for $2 and we made cute little hearts! Keep in mind the ice cube trays aren't actually crayon molds and all the packaging encourages you to use only water in them, but it worked great for us!
We preheated the oven to 250 F, broke the crayons up into little pieces, arranged them in the molds and popped them in until they were just melted. Make sure you are patient and let them cool ALL the way. I got a little excited and had to redo one.

This last little guy is my favorite :) Part two will follow soon with the finished product!
Friday, December 3, 2010
Playing with Paper

I am a big fan of Made by Joel. I find his creativity pretty impressive. He comes up with things that are so unique and fun. The other day I was clicking around on his blog and found some great paper print outs.

I printed and cut them for the dayhome kids and they colored away. I think we'll do it again when they're a bit older, because I think I had even more fun than they did!

Thursday, November 25, 2010
Simple Favor
I had a local customer put in a big order and wanted to add a little something to say "thank you" while I was packaging it up.
The problems with this are many...
you have to keep costs down so you don't have to raise prices
you want it to be something fun or useful so it doesn't end up in the trash
you want your little parcel to still be able to fit through "The Slot of Doom" at the post office
Stroke of Genius! Hand stamped napkins. So simple, thoughtful and fun. Everyone uses napkins and they pack down flat.

Here are my adorable green matryoshka napkins. I think I want some for me! I think they would make great hostess gifts, add-ons for a foodie or fun to stamp in your theme for a party. Just make sure that you use waterproof/archival ink, or your guests may end up with mustaches!
Monday, November 22, 2010
Giveaway Winner and Craft Sale Recap!

 Drumroll anyone???
The winner of the mini wooden matching game is:
Gianna!!
I don't have your info, so please contact me this week to claim your prize!

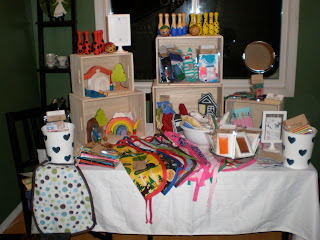
I learned a lot about what people like most and what sells fast. I also learned that I hate making some things in big quantities! I am considering a booth at Mommylicious, Naturally, and the Lilac Festival...big fees and big attendance! It's a tough leap to take!

I got these awesome boxes at Jysk for $50 or so. They helped me to create levels which is so important with small items!
Tablecloths can be crazy expensive ($70 at Home Outfitters!!) but I found some great deals on nice ones at Homesense and Superstore.
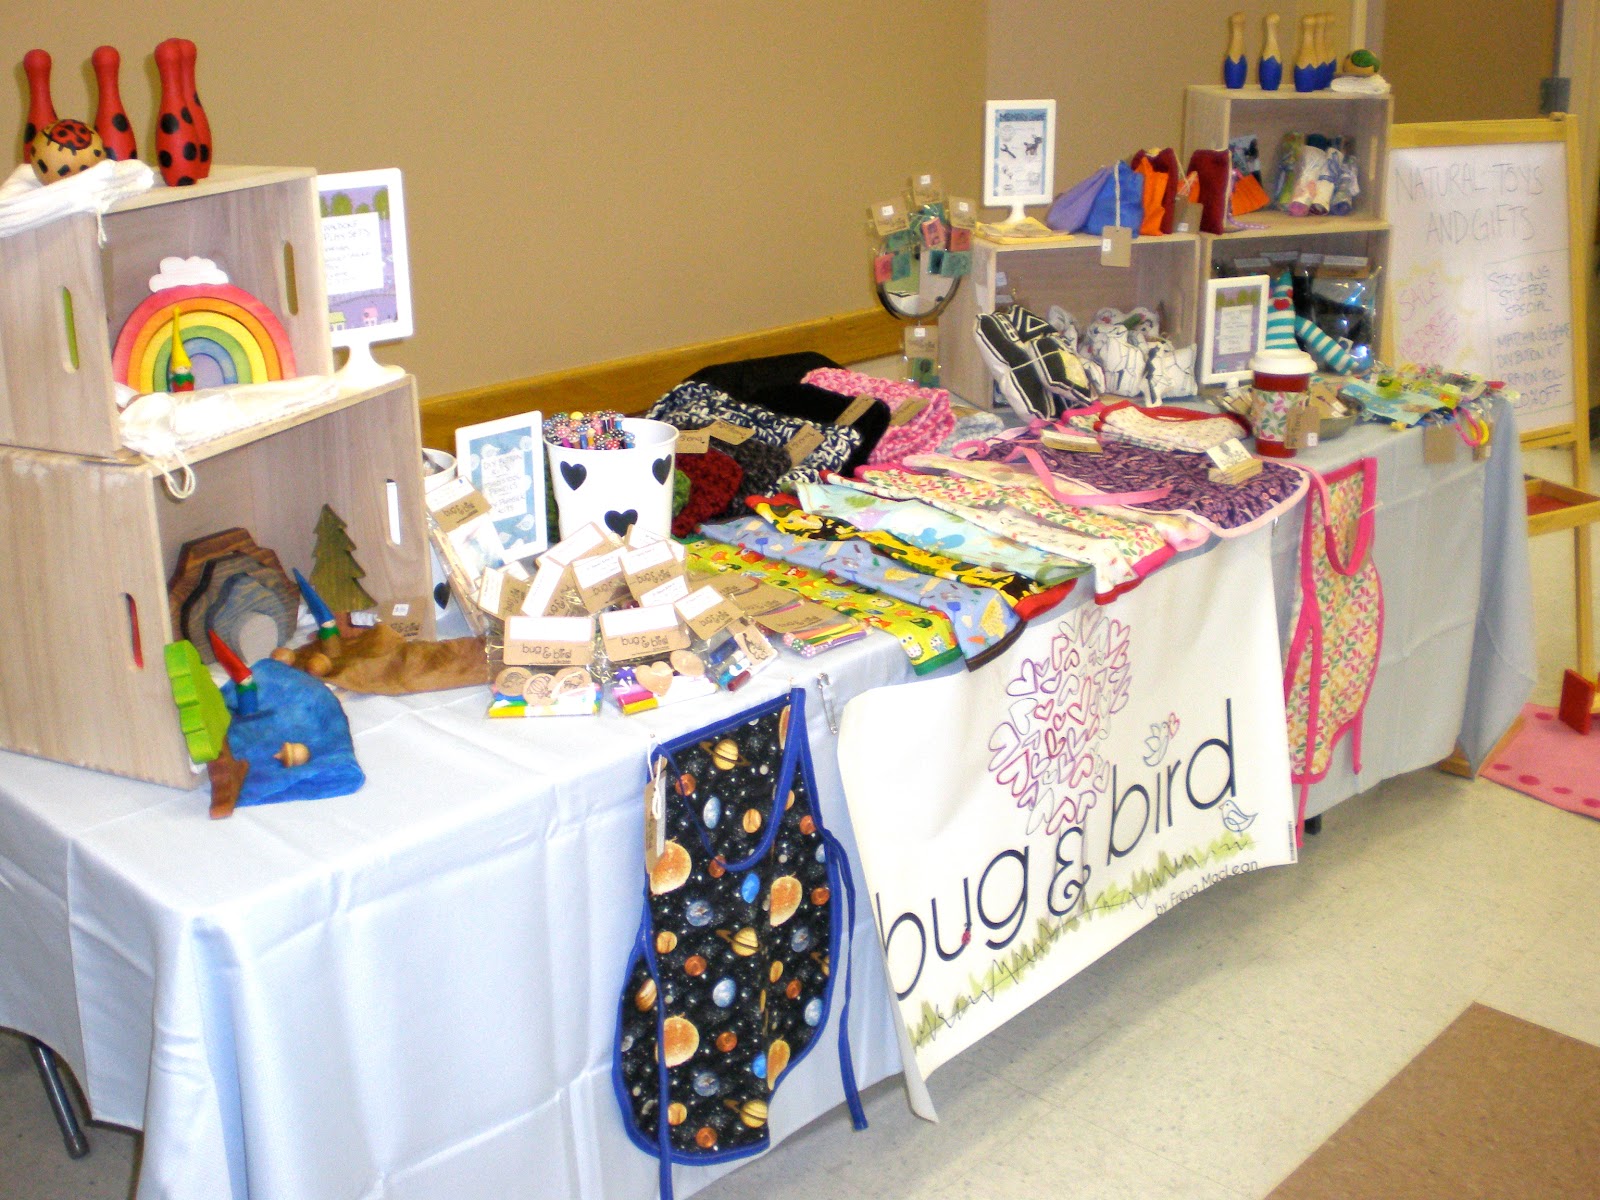
My easel was only $20 at Ikea (well...Daniel's easel) and was great for posting my specials. I also found those great frames which I used as signs for .99 cents! Woot!
Since I sell kid's stuff, I had a couple of wooden toys on a small carpet. That way, kids were happy and mom could take her time looking!
Thursday, November 18, 2010

A Few Great Treasuries!
 Something funny happened to me this week. I made a little gift guide for my hubby with a few ideas for Christmas, and it ended up on the front page of Etsy! I didn't tag it properly, or worry about where I was putting each item. I just filled it with things I like. So here here are that and a few others for your inspiration!
Gift Guide for My Hubby
For a Mail Carrier
Young Artist
First Dance
Share your favorite treasuries and gift guides...I'd love some more ideas!
And remember to enter my giveaway! It closes on Nov 20.
Tuesday, November 16, 2010
3 Cups of Coffee and No Kitchen Table...
My first craft sale is upon me.
Excited.
Freaking out.
Sewing frenzy.
Sore Back.
Three cups of coffee and kitchen table piled high.
Thank goodness my table at the craft sale is bigger than my kitchen table!!! Come find me on Saturday November 20 at the Edgemont Community Center from 10-3. I promise my table will look prettier!

Excited.
Freaking out.
Sewing frenzy.
Sore Back.
Three cups of coffee and kitchen table piled high.
Thank goodness my table at the craft sale is bigger than my kitchen table!!! Come find me on Saturday November 20 at the Edgemont Community Center from 10-3. I promise my table will look prettier!


Thursday, November 11, 2010
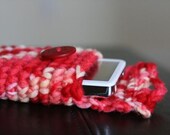
Cowls for my Craft Sale

Here are a few photos of some cowls I've made for the 20th. I'm really happy with how they have turned out and how different they all are!


Wednesday, November 10, 2010
Sock Monster Tutorial

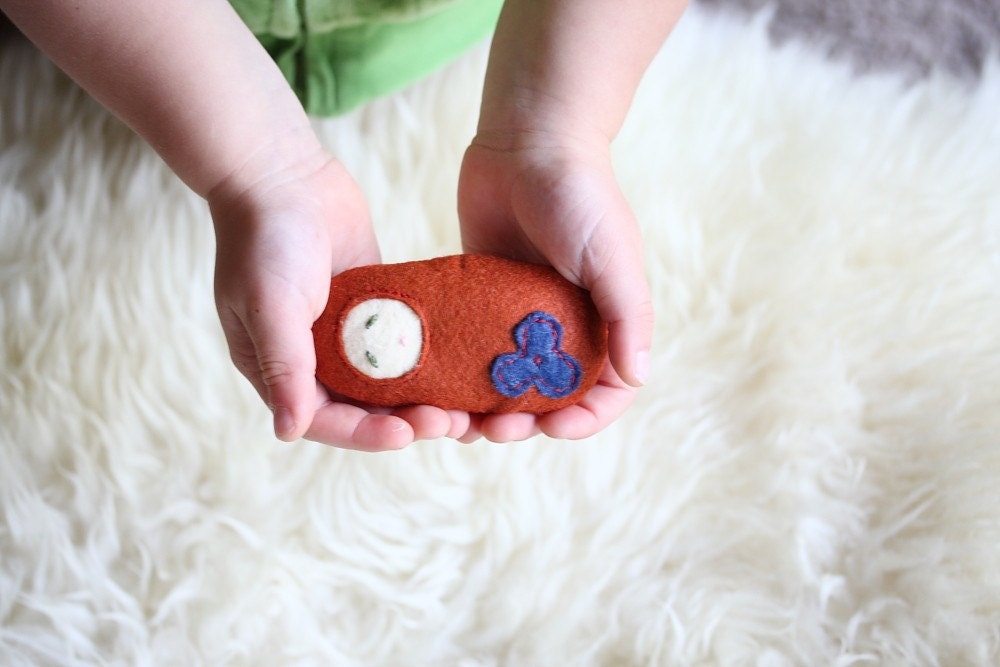
Last night I made my very first sock monster, and this is how I did it! Please excuse the photos. It was late, and dark!

I used the heel of my sock as a bum for my little monster, because I wanted her to be able to sit.


Then I cut a small V at the toe of the sock (for ears/eyes). And a slit at the bottom for legs. Make sure not to cut too high on the legs...it should be just a bit below the heel of the sock (the 'bum'). Turn inside out and sew, right sides together, the V for the ears, and the all round the legs. Your monster will be sewn shut with no way to turn right side out, but don't worry!


Next, cut VERY small holes for the arms. They will stretch out a lot, so keep them small. SMALL. Then, flip the monster right side out through the arm holes.


And stuff...


Now for the arms. One the other sock, cut in half lengthwise from the opening to the heel, and across to make 2 arms. I wanted my little monster to have 2 fingers, so I cut a small V in the top of each arm.


Turn inside out and sew, right sides together, leaving the base open. Turn, stuff and sew onto the monster, right where that little hole is. Then, make sure your monster is full enough with stuffing and attach the other arm.


Sew on eyes, and add a felt mouth. I glued the felt on because I was getting tired! I also added a sweet little felt heart by her bum.

If you leave an opening when sewing your monsters legs to turn it inside out and stuff it, you can sew the arms completely shut (after turning and stuffing) and sew them onto the sock without cutting openings. I chose to do it my way because it was faster and I wanted my monster to be a bit funny looking. The other way would look a bit more polished I think.
I am about to start selling DIY Sock monster kits in my Etsy shop, and I think they'll make great gifts for older kids learning to sew.
Saturday, November 6, 2010
$5 Christmas!
I am SO excited about some of my latest finds on Etsy. ALL for $5!
Check it out...amazing, handmade goodies for your loved ones!
$5 Finds For Kids
$5 Finds For Everyone on Your List
$5 Finds for Friends and CoWorkers
And one more thing. Even better thank $5 gifts is FREE gifts!
Remember to enter my Mini-Matching Game GIVEAWAY!
Friday, November 5, 2010
Giveaway Time!


With Christmas approaching, I think it's time for another giveaway! So....here is your chance to win a mini-matching game for your little one. Your choice of my "Laundry Day" or "Animal Tracks" set if you win!
These mini-matching games make great stocking stuffers or gifts for your childrens' friends and include six pairs hand stamped on lovely wooden tiles in a cotton drawstring bag.
To Enter:
Comment on my last post with an idea- mandatory first entry
Follow my blog- 1 extra entry
Visit my Etsy shop and tell me what you like best- 1 extra entry
Buy something from my shop- 2 extra entries
Become a fan on my Facebook Page- 1 extra entry
That easy, just pick and choose. The giveaway will close at 12pm MST on November 20th 2010, and you will receive your gift on time for Christmas if you are in Canada or the US.
Good luck!
Subscribe to:
Posts (Atom)