Showing posts with label natural. Show all posts

Wednesday, September 18, 2013

Bad Blogger, Bad!

I've been a terribly negligent blogger since little Asher was born! Here are just a few things I've been creating since my last post:


Crinkle Toys

Custom I Spy Pillow

Custom Change Pads

Crinkly Teething BonBons

Custom Bandana Bibs

Teething/Nursing Necklaces

Custom Doll Wraps

Gnome Stackers


See?!? I've been busy! If you're trying to keep up with Bug & Bird, come find me on Facebook. I'm less negligent there!

Thursday, October 25, 2012

Easy Homemade Lip Balm Recipe


This lip balm is the best. I've tried all sorts of expensive natural chapstick and been disappointed every time. When I started using my homemade stuff, I was able to go from constant, all day application to once in the morning and once at bedtime!


Ingredients:
2 tsp coconut oil
1 tsp beeswax
1 vitamin E capsule
5-10 drops of sweet almond oil 
*optional 5-10 drops essential oil such as sweet orange, peppermint, vanilla or cinnamon

Melt it all in a pan (be clever and use one that pours well) on low heat. If using essential oils, add after removing from the heat. Pour into containers.


Tips:
 *I bought a big brick of beeswax from a honey supplier. I use a sharp, heavy knife to shave off the wax and then pack it into the teaspoon. You can also buy beeswax in pellet form (much easier to deal with) or if you don't want to buy a lot of wax, a chopped beeswax tea light will do.
*Lip balm containers can be found at some health food stores or on Etsy
*I quadruple the recipe to fill approx 12-0.15oz containers (standard twist up size)

Tuesday, October 4, 2011

Handmade Wooden Block Puzzle: Adorable Animals


Here is part of the baby shower gift I made for my little peanut. I think it's my favorite because my hubs helped me make it!


Simple but not easy. All it took was drawing out the animal pictures and wood burning them. I drew and Michael did the wood burning. I finished it off with beeswax polish and voila! A beautiful, natural, handmade baby gift that will actually get used!


I thought about using 6 blocks, but even my clever four year old has trouble with 6 blocks, so I just kept it simple at 4.

Monday, September 19, 2011

Apple Picking!

While pet sitting for a friend of ours, we discovered she has a huge apple tree in her back yard! So, naturally, we came back with bags and picked everything we could.


Here's us sorting and washing in the yard. We made some yummy canned honey-maple apples, but I don't think I'll have time for anything else. It's been a busy Fall so far!

This is the syrup recipe I made up for canning them:
3 Cups Water
1/2 Cup Maple
1/2 Cup Honey
Cinnamon to Taste

You can use any recipe for canning whole/diced apples and substitute this syrup recipe for a traditional sugar syrup recipe.

Friday, September 16, 2011

New Fundraising Program!

I am so excited to announce my new fundraising program for schools and non-profits! I love to support my community, and I hope that this gives a fun and useful new option for families and organizations. You can support local and handmade, buy a unique gift and at the same time earn money for your program!


Here's a sample brochure for your browsing pleasure!


Thursday, September 1, 2011

An Updated Tutorial: Making Your Own Beeswax Cloth for Reusable Sandwich Bags


I've been surprised at how many people are finding me as they try and figure out how to make their own beeswax cloth. It's very simple, but time consuming and messy! I felt that since this has been such a popular subject I should update the tutorial with better photos and instructions.

Materials:
Beeswax (I have a 1/2 lb chunk from a local producer, but you can also use a pure beeswax candle)
Pan
Paintbrush (I use a fan shaped brush. Once you use it for beeswax, that's all it will be good for, so don't spend a lot of money or use your favorite!)
Cotton fabric


1.) Melt a small amount of beeswax, over medium-low heat, in your pan. Once it's melted, keep the burner on at low heat.


2.) Dip your paintbrush into the beeswax and gently sweep across the fabric. You'll start with very light pressure and then firmer as it cools. When you dip again, ensure the hardened wax melts again. A very light coating is enough. The beeswax will soak through on the fabric, so it's best used as a liner, with the beeswax side facing in.


This is the perfect material for reusable sandwich bags. Most that you see are lined with petroleum products, unless they are 100% cotton. The beeswax is also better at keeping food from drying out than just plain cotton.


Washing Instructions:
Handwash in cold water with mild dish soap. Warm water will melt the wax! I prop ours open to dry on our dish rack and they're good to go by morning.

Wednesday, June 8, 2011

Homemade Honey Toffee Un-Recipe

I was trying to come up with something, other than gum, for my little guy to chew on the plane. Enter my clever Mother-in-Law! She mentioned the she always made "Grampa's Toffee" for airplane trips when her kids were little. Genius! I prefer for Daniel to have honey or maple as sweeteners-especially when I know he's going to down 8 or 9 per flight so I decided to make my own recipe.


I thought of all the honey treats my mom made for me when I was little. I had the mom who shopped at the health food store, bought organic and started every morning with a vitamin buffet, before it was cool. I remember her making honey lollipops for me and I figured I could make toffee out of honey as well. I'm sure this will turn out differently at different altitudes etc, but if it's too soft, cook it to the hard crack stage (300 degrees) and add a little more butter. You can also store it in the fridge to keep it from melting.

So here is my delicious, honey toffee "un-recipe":

Ingredients:
About 4 Tbsp butter
About 3/4 cup creamed honey (liquid works, but they're a bit melty-er)
Sprinkle of Salt
Dash of Vanilla

Melt butter and honey in the pan on medium heat to the soft crack stage (or about 290 degrees).


Remove from heat and stir in vanilla and salt.


Pour into a well greased glass or ceramic dish and place in the fridge to cool for at least 4 hours, but preferably overnight.


Remove cold toffee from the pan, cut into pieces and wrap in wax paper squares.


 It's really that simple, and SO yummy. Honey is known for it's energy boosting and healing properties and as helpful for your immune system, so eat up!

Thursday, March 10, 2011

Tactile Button Snake Tutorial

I've been working on a plan to keep Daniel busy during our upcoming plane trip to Florida and I definitely have the tendency to go overboard! I love toys, I love gifts, I love making things, I love Daniel and I HATE trying to keep a kid happy in an enclosed space. So, inevitably, I will have too much! But the good news is that it means lots of travel toy ideas for my readers!


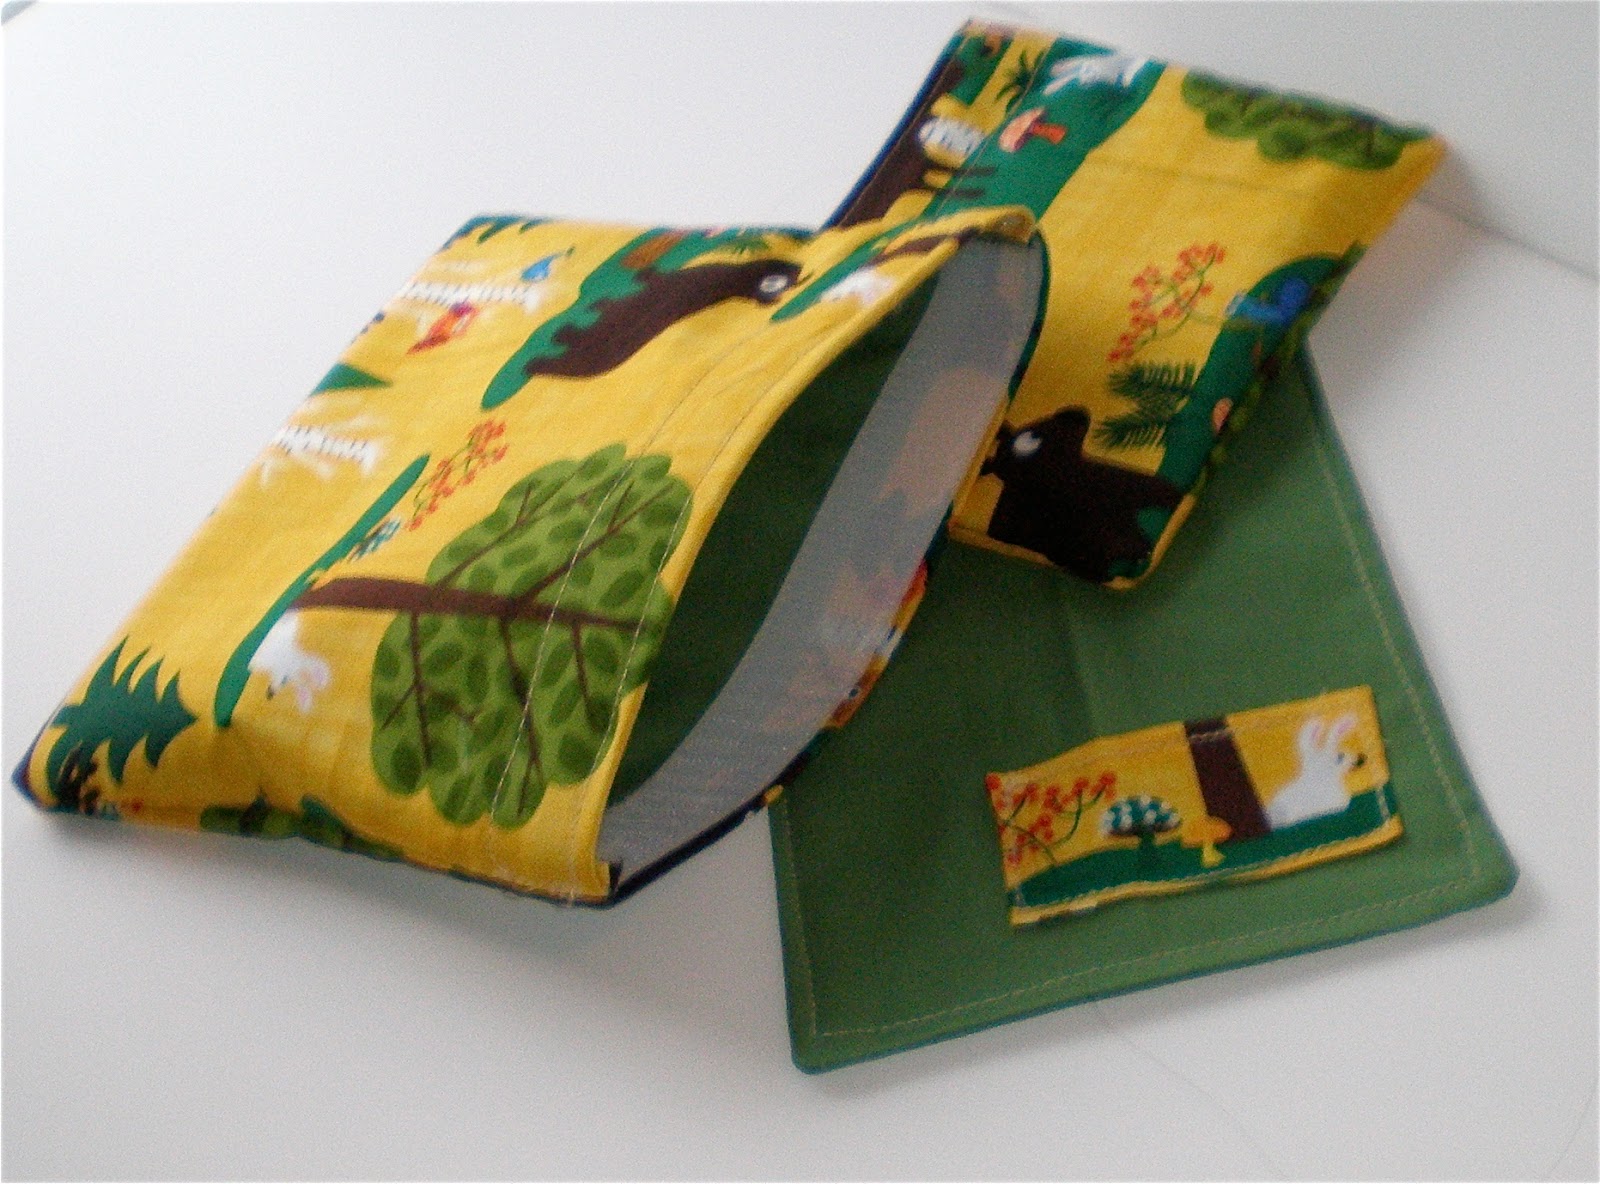
This week I made a classic Montessori toy with a twist and I think he will love it. Button snakes are great for fine motor skills and learning how to button. They're usually made with all felt squares, but I wanted to add another element to the activity, so I didn't stop there. I used some wool felt, some old felted sweaters, leather scraps, crocheted cotton squares and cotton fabric.


Making your own is so easy!

You'll Need:

6 inch length of ribbon
1 medium sized button
Any combination of wool felt, fabric, felted sweaters, crocheted squares, leather scraps, paper, fabric etc
Needle and thread

1.) Cut your length of ribbon. Fold over the end twice (like a small hem) and sew your button onto the ribbon tightly.

2.) Make a template for your squares approx 1.5" square. Cut out all your pieces. Making it all out of felt is definitely easiest! If you are crocheting squares:
Row 1: Ch 7, turn.
Row 2: Sc into 2nd from hook and each after (6 sc). Turn.
Row 3-4: Ch 1 and sc 6 across. Turn.
Row 5: Ch 1 and sc in next 2 stitches. Ch 2, skip 2 stitches and sc in last 2 stitches to make button hole. Turn.
Row 6-8: Ch 1, crochet 6 across.
Row 9: Ch 1, sc all around the edge to finish.

3.) Fold each square in half and cut small slits (button holes) in the center.

4.) Choose a square for the bottom of the button snake (you could also use a large button to keep the squares on). Fold the end of the ribbon under to hem and zig zag stitch it on like it's about to endure a nuclear war. Or hand sew if you have no machine!

Simple, right? Depending on your child's interests, you could do shades of the same color, black and white, shapes, patterns, make it seasonal, different sizes of squares etc.

Hopefully he'll have fun and learn something useful. And stay busy on the plane.

Thursday, January 20, 2011

Rainbow of Dolls!


I finally listed my sweet little bedtime beans on my Etsy shop. They are just too funny and cute! I wish I had though of this when Daniel was a toddler!

Tuesday, September 21, 2010

Treasury Features

I'm trying to figure out how one keeps a crafting/homemaking blog interesting when an injured shoulder prevents any work from getting done! The good news is that I'm back at about 90% and should be crafting again by the end of the week.

For now...here are the first treasuries that I've been featured in:
The Natural Child by mariescottage and Seller's Favorites by AngelicaV

Coming soon are black and orange gnomes for October and more teething rings in lots of colors.

What do you think of the girl gnome with hair? I would have to charge more but I think she's kind of cute.

And what about a black and orange teething ring? Too weird? Maybe just orange....

Friday, July 23, 2010

Traveling Gnomes


I am always thinking of ways to keep Daniel entertained when we are shopping, in the car or at a restaurant. We have the standard travel toy ideas down. Stickers, doodle board, crayon roll, photo album, something with buttons, calculator, pipe cleaners, I-spy bottle, magnet games and on it goes.

When I was a little girl I had these cute
little dolls that clipped into jewelery that I would bring when my mom was meeting a friend for coffee. They were SO fun! I wish I have never sold them and I really I could remember what they were called. I was after the same sort of idea for Daniel, but what jewelry can you put on a boy?


I decided on a little, Waldorf gnome that fits into a pouch on a necklace. It was one of the first toys I've made that he actually liked. Well, for a few hours anyway. The little girl I take care of liked it so much that I made one for her too.

I read that it is wise to make the body first, because you can more easily make the head to fit the body than vice versa. I just winged it all. I free handed the bodies onto pattern paper and then cut and sewed. I usually make dolls too skinny so it took a few attempts. I wish I had made the hats a bit longer so I could knot them at the end; I like how the hat flops over when it's knotted. The head is just a ball of wool roving tightly wound. They joy of making little dolls is not having to fuss with the head!


I originally made a wool felt leaf for the gnome to fit in, but it just didn't work out that well. Since taking the photos, I've made him a crocheted pouch like the girl gnome. I crocheted a rectangle long enough to fold over into a sleeping bag. Before tying off, I chained to make the necklace and slip stitched it to the other side. Then to finish, I folded the rectangle up and stitched the sides together. It's a much better fit than the leaf!

You Might Also Like:

Related Posts Plugin for WordPress, Blogger...