Showing posts with label label tutorial. Show all posts
Thursday, August 2, 2012
Tutoria Upgrade- Making Your Own Labels the Smarter, Faster Way!
I had a very small amount of time to make a very large batch of labels and needed to make the process more efficient. I cannot believe I didn't think of doing it this way before.
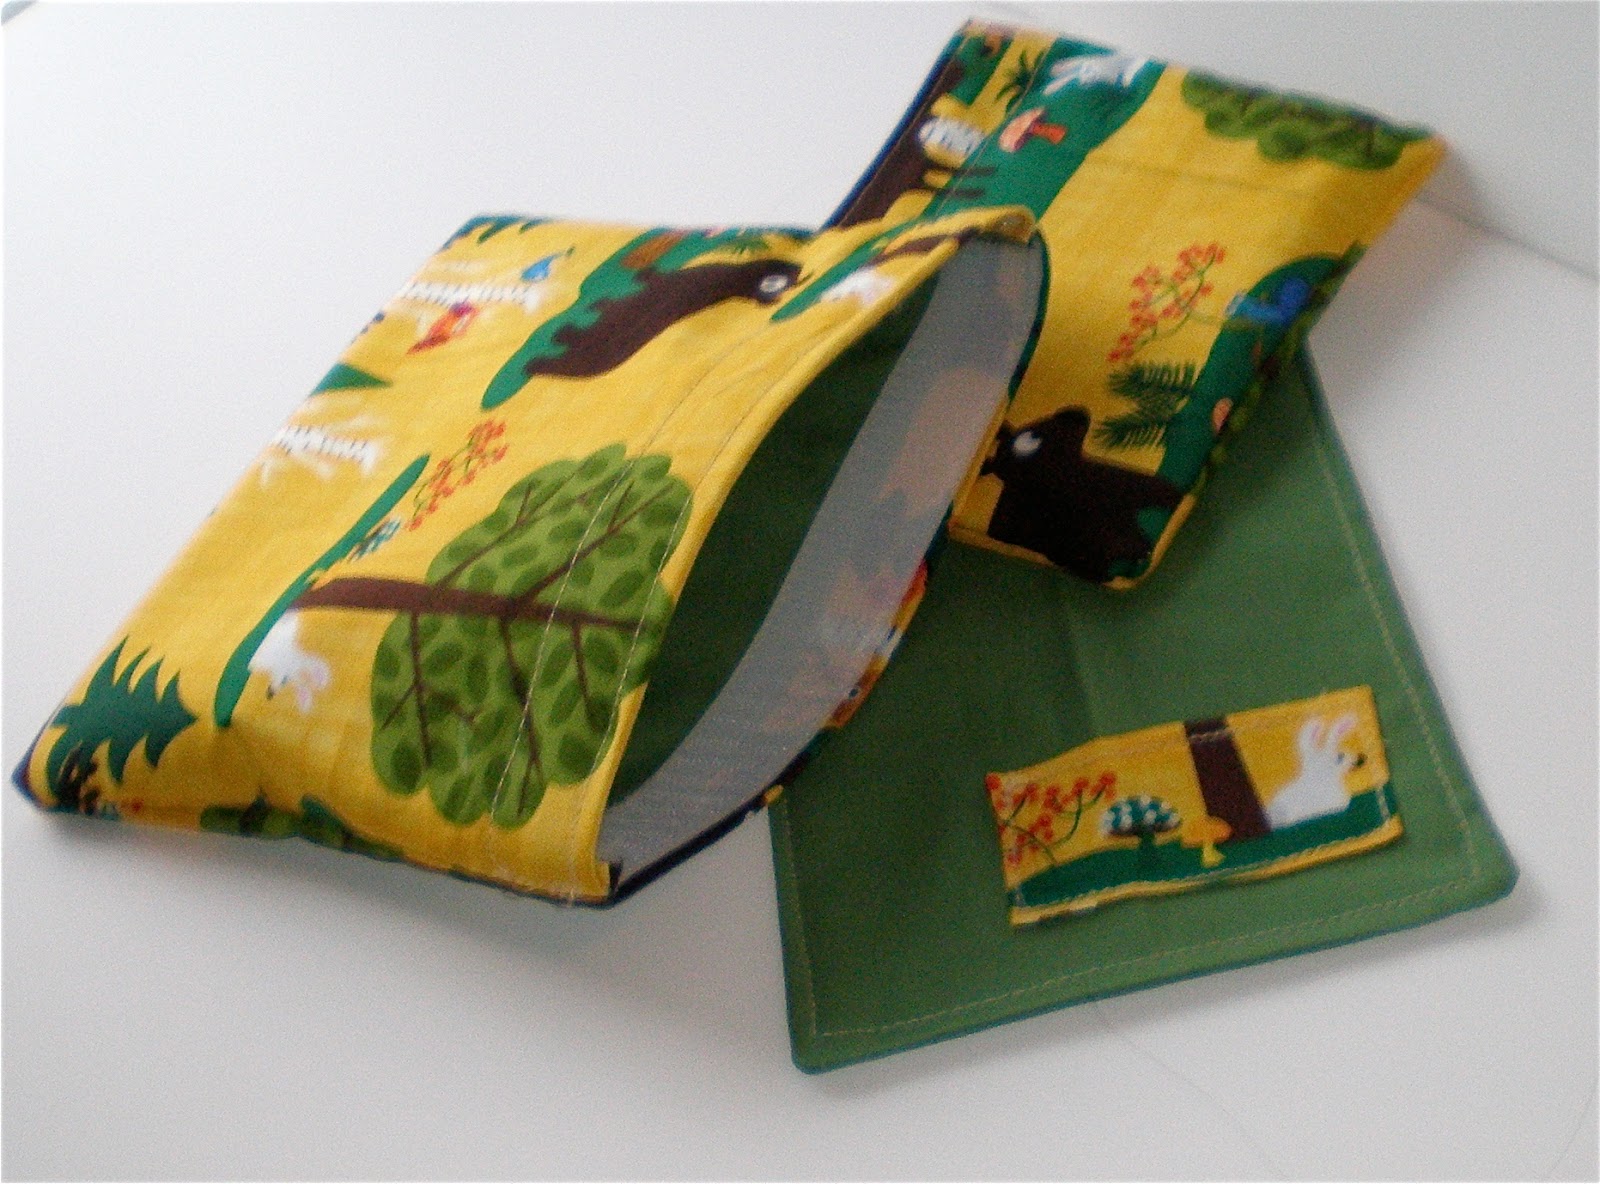
Instead of cutting my ribbon or twill tape, I just ironed 5-6 onto the ribbon at a time. SO much faster! It keeps them way more organized for storage and cuts down on the amount of ribbon wasted. I've included the (extremely popular) original tutorial beneath for convenience, but with fewer steps, since I'm getting smarter.
Materials:
Iron on Transfer Paper (I just used the t shirt kind)
Printer
Scissors
Iron
Ribbon, twill tape or whatever you like best. Just make sure it's iron safe!
1.) In Keynote or Powerpoint, arrange your logo in rows. I printed out a few test sheets to get my labels just the right size. FLIP YOUR IMAGE! I may or may not have forgotten this step and wasted a sheet of transfer paper. If you're using a Mac, use keynote. Powerpoint for Mac has no 'flip' feature to make your logo a mirror image. Print onto transfer paper according to package directions.
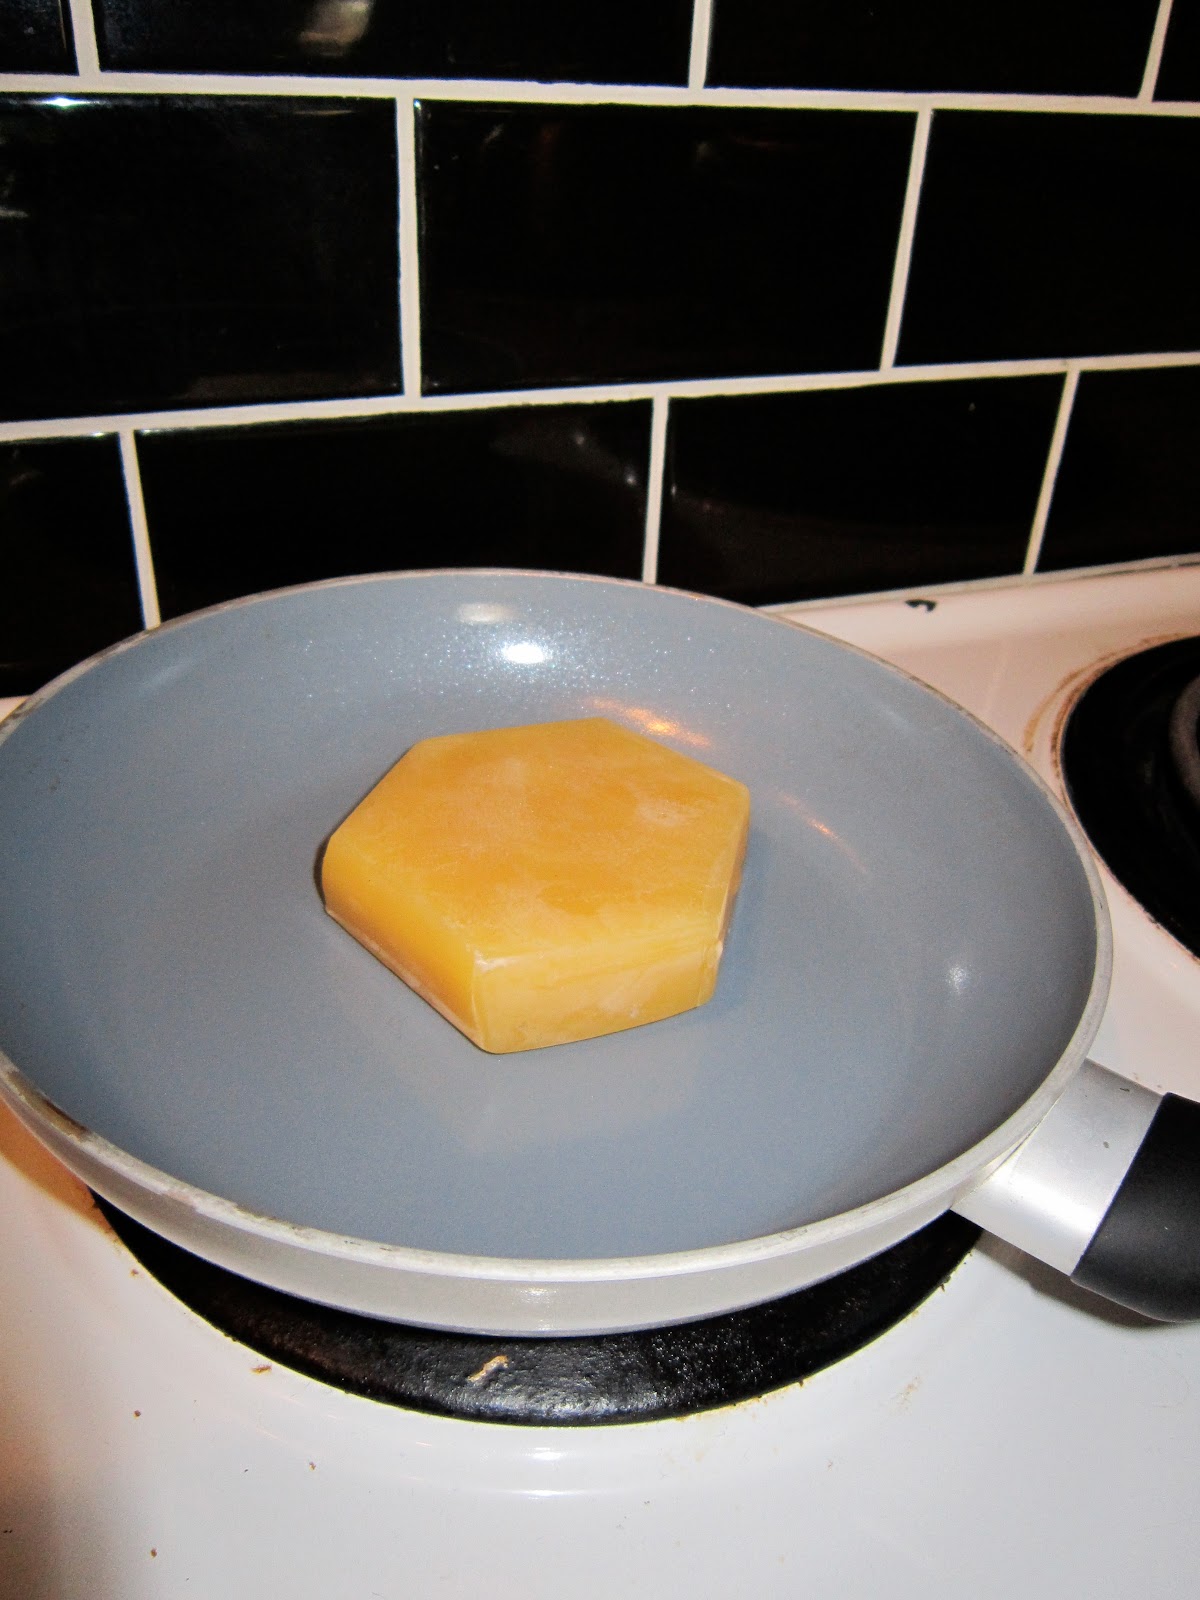
2.) Cut out your transfer paper labels and position as many labels as your iron will cover (I managed 4-6 at a time) on the uncut ribbon or twill tape.
3.) Iron those suckers on. Like crazy. When you think you might be scorching the ribbon, wait another few seconds! Make sure to read the transfer paper directions so you know what heat setting to use and if you should use steam or not. I peeled off the paper backing at random intervals as a sort of quality control, to make sure they were stuck. The rest I left on when I rolled it back onto the spool to protect the tags.
Isn't that sooo much easier?
Labels:
clothing labels,
diy,
diy labels,
diy tags,
easy,
eco,
fast,
handmade labels,
homemade,
how to make labels,
how to make tags,
iron on,
label tutorial,
labels,
product labels,
ribbon,
sew in
Thursday, September 1, 2011
An Updated Tutorial: Making Your Own Beeswax Cloth for Reusable Sandwich Bags
I've been surprised at how many people are finding me as they try and figure out how to make their own beeswax cloth. It's very simple, but time consuming and messy! I felt that since this has been such a popular subject I should update the tutorial with better photos and instructions.
Materials:
Beeswax (I have a 1/2 lb chunk from a local producer, but you can also use a pure beeswax candle)
Pan
Paintbrush (I use a fan shaped brush. Once you use it for beeswax, that's all it will be good for, so don't spend a lot of money or use your favorite!)
Cotton fabric
1.) Melt a small amount of beeswax, over medium-low heat, in your pan. Once it's melted, keep the burner on at low heat.
2.) Dip your paintbrush into the beeswax and gently sweep across the fabric. You'll start with very light pressure and then firmer as it cools. When you dip again, ensure the hardened wax melts again. A very light coating is enough. The beeswax will soak through on the fabric, so it's best used as a liner, with the beeswax side facing in.
This is the perfect material for reusable sandwich bags. Most that you see are lined with petroleum products, unless they are 100% cotton. The beeswax is also better at keeping food from drying out than just plain cotton.
Washing Instructions:
Handwash in cold water with mild dish soap. Warm water will melt the wax! I prop ours open to dry on our dish rack and they're good to go by morning.
Tutorial: How To Make Your Own Labels the Easy and Cheap Way!
***This tutorial has been upgraded! Check out my latest post HERE to save yourself a couple steps***
I reaaaaally want to order some labels for myself. Like badly. But, with such a small business I have to be reasonable about costs and blah blah blah. If you want to order some, there's a helpful blog post on MADE.
So I decided to make my own. I looked around for tutorials and did some reading but when it came down to it, I just winged it. Please forgive the terrible photos...my camera broke!
Materials:
Iron on Transfer Paper (I just used the t shirt kind)
Printer
Scissors
Iron
Ribbon, twill tape or whatever you like best. Just make sure it's iron safe!
Jars or containers for storing
1.) In Keynote or Powerpoint, arrange your logo in rows. I printed out a few test sheets to get my labels the right size. FLIP YOUR IMAGE! I may or may not have forgotten this step and wasted a sheet of transfer paper. If you're using a Mac, use keynote. Powerpoint for Mac has no 'flip' feature to make your logo a mirror image. Print onto transfer paper according to package directions.
2.) Cut ribbon lengths and cut out labels from transfer paper. My ribbon was about 1 inch wide by 3 inches long. Lots of room to fold over and stitch into seams.
3.) Turn on the iron and arrange labels on your ribbon. It should be placed just below the middle so that when you fold it in half it's on the front side. I started with one at a time and then realized I could easily do 5 across at once.
4.) Iron those suckers on. Like crazy. When you think you might be scorching the ribbon, wait another few seconds! Wait for them to cool completely and then peel off the paper backing. I've decided to leave them on and just peel them off as I use them. I store my extra labels and my extra iron on tags (I kept some separate so I could make horizontal labels as well) in a little jars.
I'm pleased with how they turned out and finally my products have proper labels!
Subscribe to:
Posts (Atom)